This is an old revision of the document!
Table of Contents
You can only test ONE CABLE at a time
Step 1 - CHIP TEST
Plug in the cable into your computer (we will use Windows)
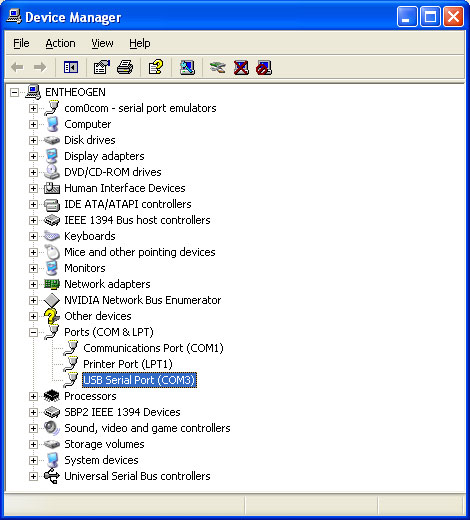
Go to the Device Manager (From the Start Menu, select Settings→Control Panel. Double click on System and select the Hardware tab. Then click on the Device Manager button)
When plugging in a USB cable, the window will refresh and you will see USB Serial Port (COMx)
If the new COM port doesn't show up, there is a problem with the cable
Step 2 - VOLTAGE TEST
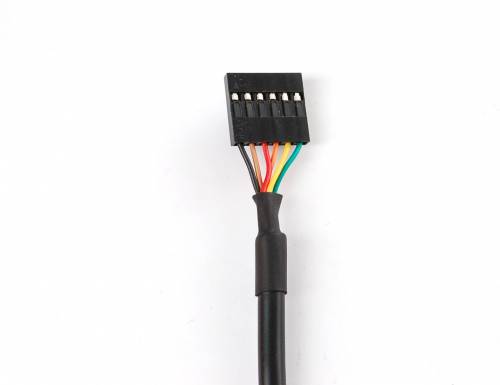
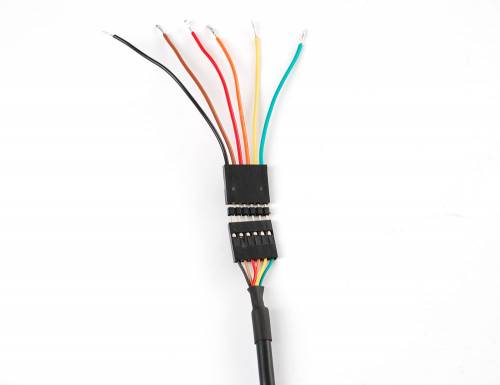
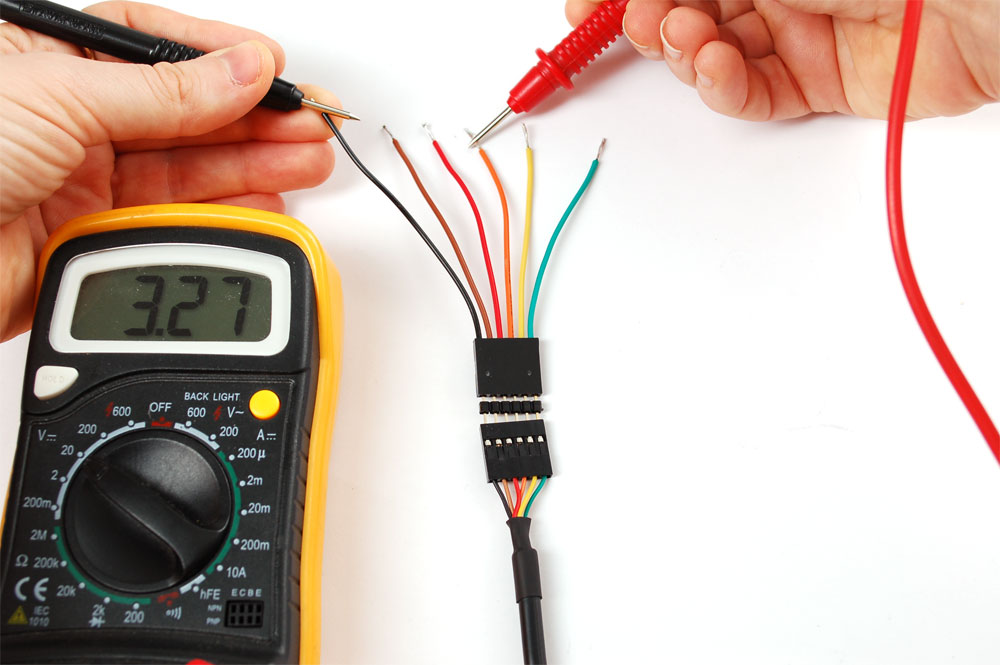
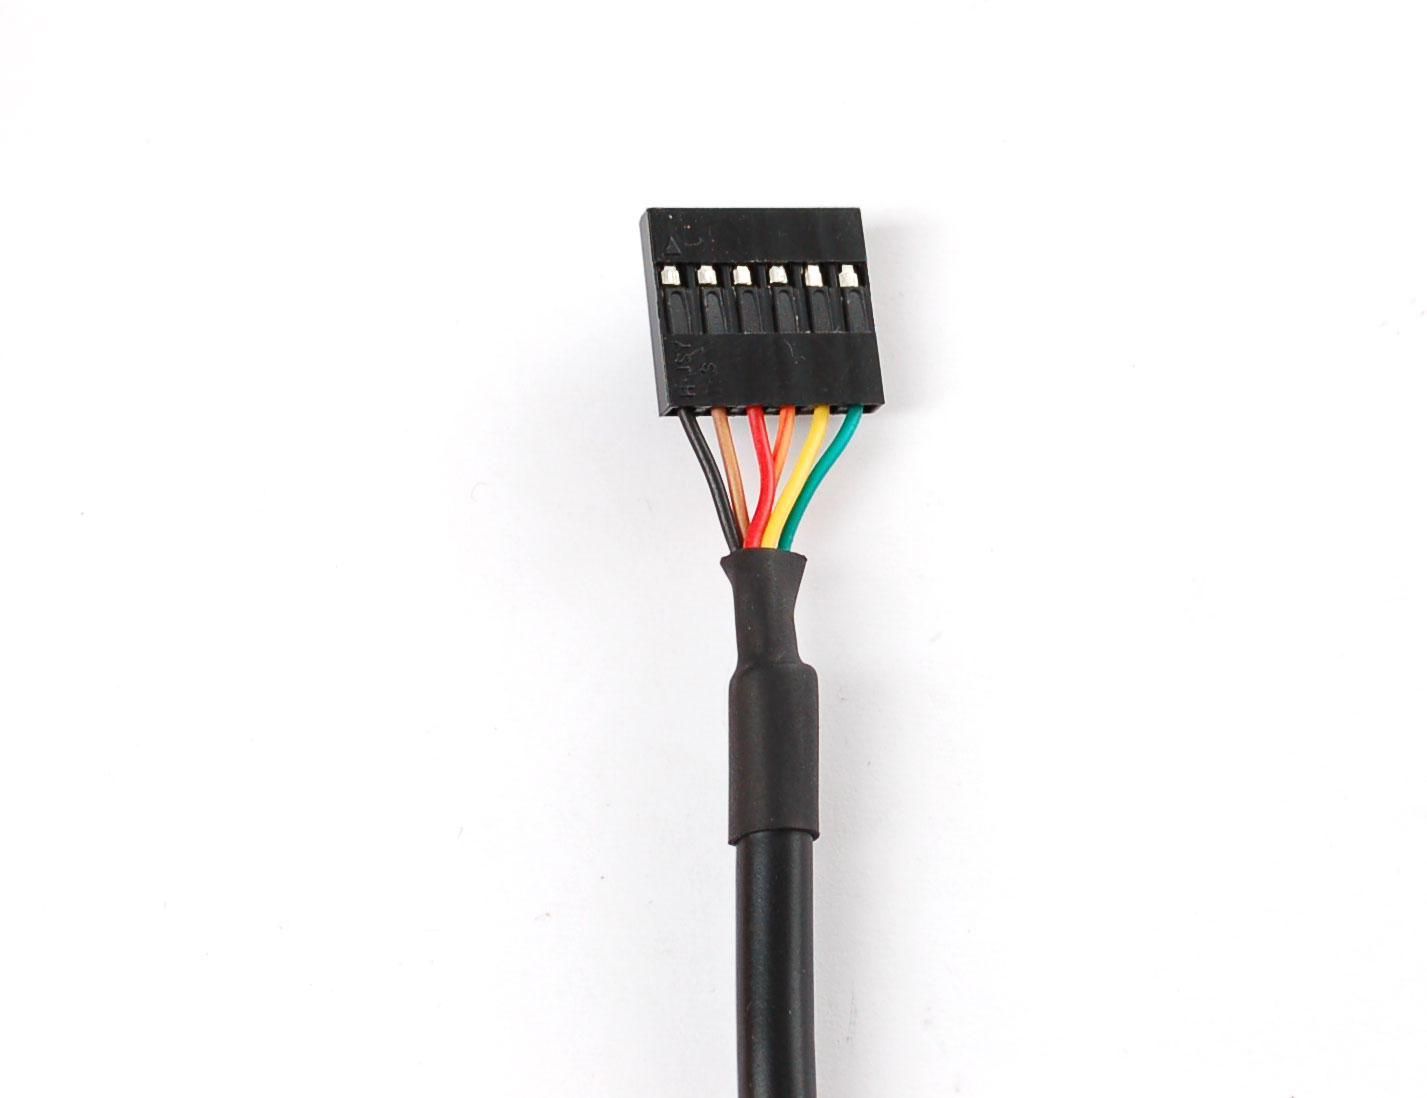
This is the end of your FTDI Cable
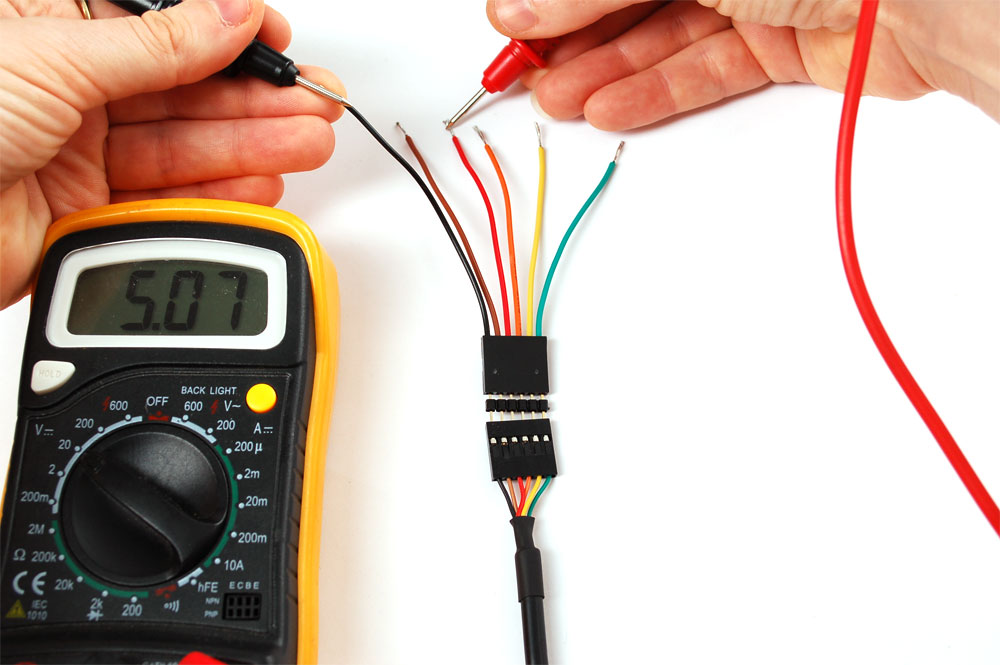
We added breakout wires to make it easy to measure voltages
Test voltage between black and red wires - it must be 5V
Test voltage between black and orange wires - it must be 3.3V
Communication test
Download X-CTU: http://ftp1.digi.com/support/utilities/40002637_c.exe
Install software
Start up software
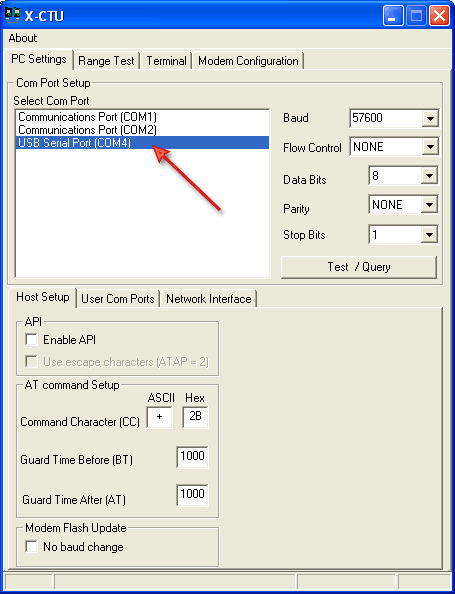
Select the COM port that says USB SERIAL PORT
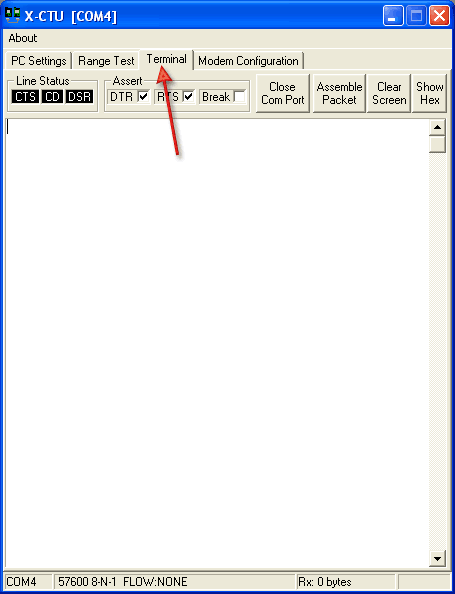
Click on TERMINAL tab
Test RX and TX
Test TX is not shorted to RX
FTDI cable has nothing attached to it
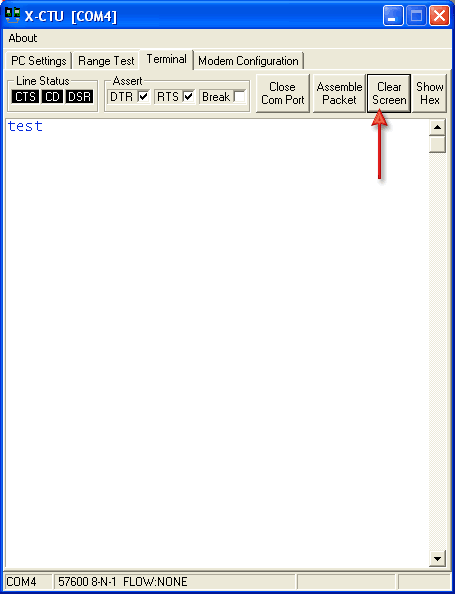
Type text into terminal window. All text should be blue
When done, click Clear Screen
Test RX and TX
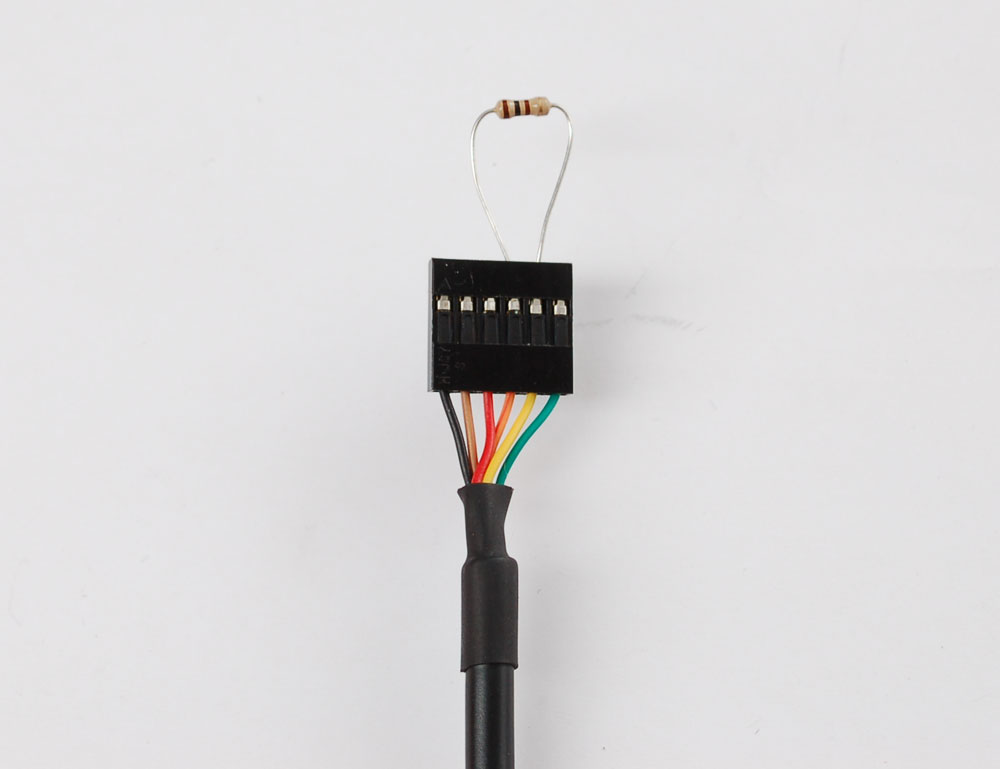
Connect 100 ohm resistor between orange and yellow wires
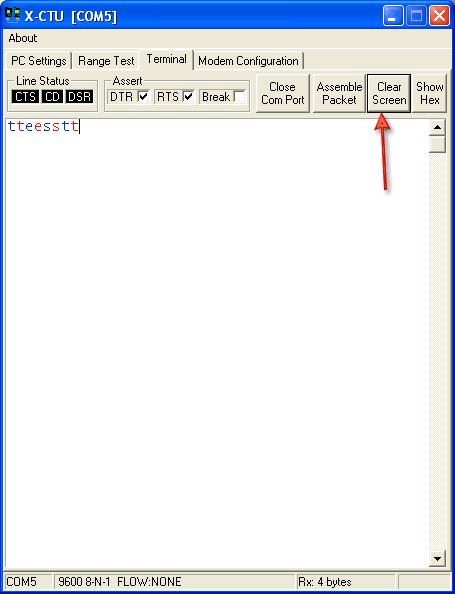
Type text into terminal window, all characters will appear in blue AND red

