This is an old revision of the document!
Table of Contents
Bad USB cable
When we first started up the software, it didnt display the huge red "ON LINE" button and said it couldn't find the "KPS card" due to a bad USB extension cable. Don't forget also to have the pick and place on before the computer so that it auto-starts correctly
Misaligned homing dots
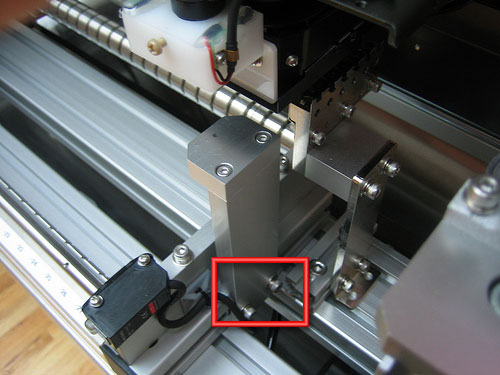
We also had a problem where the machine would not 'HOME' properly. If the homing dots aren't where thinks they should be the machine freaks out and quits. Turns out that our homing-dot brackets were not tightened before shipment (hey it happens!)
As a result, when moving the machine, the bracket moved. We shifted the bracket back so the homing dot was where the machine looked for it and it started homing again. *whew*
Misaligned nozzles
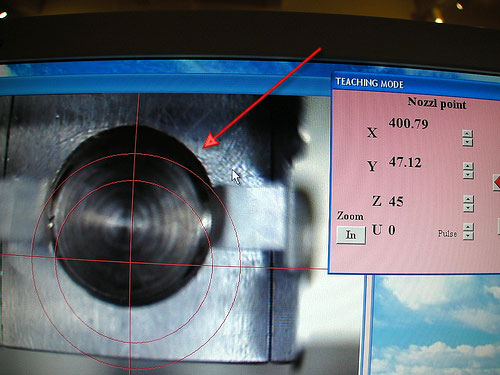
In the nozzle programming/teaching menu, we had a new problem, which was that the nozzles were not centered
It turns out this was because when we re-set the homing dots (above) they were off slightly and the machine had a bad skew calculation. The homing dots are actually there to align the two Y motors (since they can be out of sync). As a result we needed to reset the homing dots using special instructions by gently aligning the Y motors, then retraining it on the new dots. Once we did this the nozzles came back into alignment.
Feeder not advancing
We had some problems with our feeder not advancing consistently despite setting the compressor at 70-75 PSI. This caused Pick-up Miss failures. By upping it to 85-90 PSI we were able to get much more consistent advancing
Un-pulled tape cover
If you're getting pick-up misses, it may be because the tape cover is not pulling away properly. We found two things that caused this:
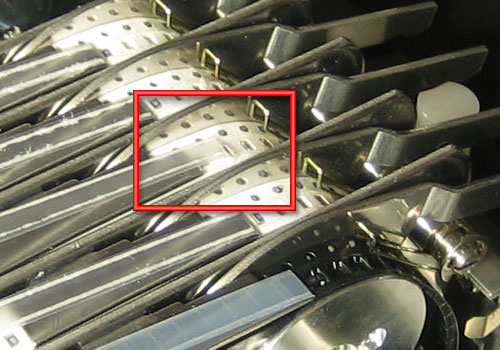
- The clear rubber roller that the tape runs over on the way to the pickup reel works its way off the bracket and jams up against the nearby feeder. This means it doesnt advance. To fix, remove the feeder, and use an awl or small flathead to loosen the clear plastic tubing and push it back on all the way
- Some reels have tape covers that have been spliced together (probably the factory ran out of tape cover before finishing the reel). The splice tends to break and needs to be fixed by hand
Emergency Stop!
We had a really strange and annoying problem where the machine would crash and display "Emergency Stop" on the computer. When this happens, the machine had to be shut down for a few minutes. This would happen almost always when doing a bottom vision test, we thought it had to do with the compressor but in fact it was from the motors.
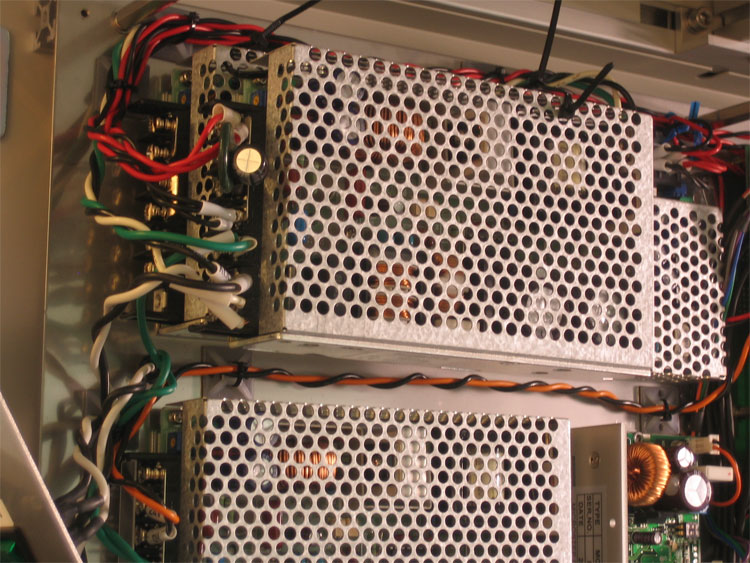
The way it was debugged was by looking at the power supply LEDs. Note that the top left one has no green 'on' light. This means the power supply died, which caused catastrophic motor failure.
We got a replacement Lambda power supply from the manufacturer but the problem persisted. Note that if you want to test a new supply you should strap it on top, since the power supply is bolted onto a plate from behind, its annoying to replace if you're not sure of the fix
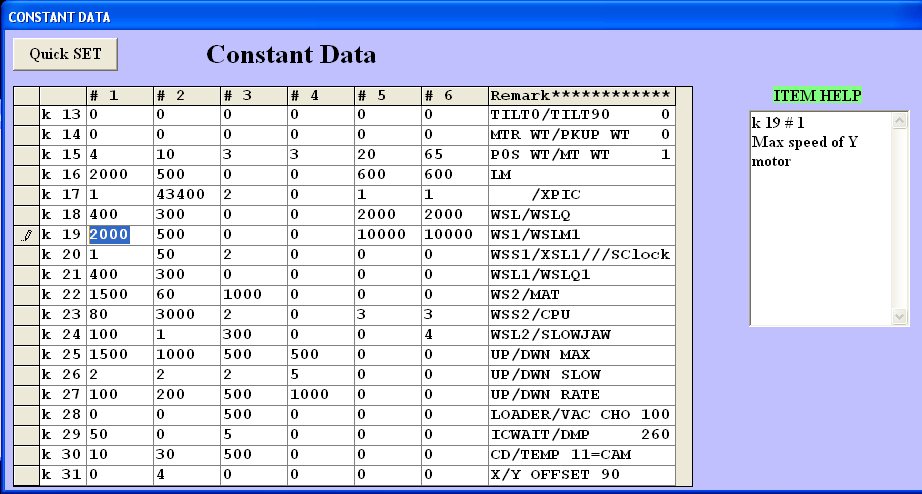
In the end we fixed it by changing the K constants for the motor travel speed. This slowed down the machine a little but the problem went away
- Change system constant k16 #5 and #6 to 600 each.
- k17 #1 from 2 to 1 #5 and #6 to 1 each
- k18 #5 and #6 to 1000 each (2000 will be more effective)
- k19 #6 15000 (10000 will be more effective)
- k20 #1 from 2 to 1
However, as of Jan 15 2010, we've been informed that Astrodyne RS100-24 may be a better power supply and will mean we can speed it up again…will try it & post our results!
Consistent offset with bottom vision placement
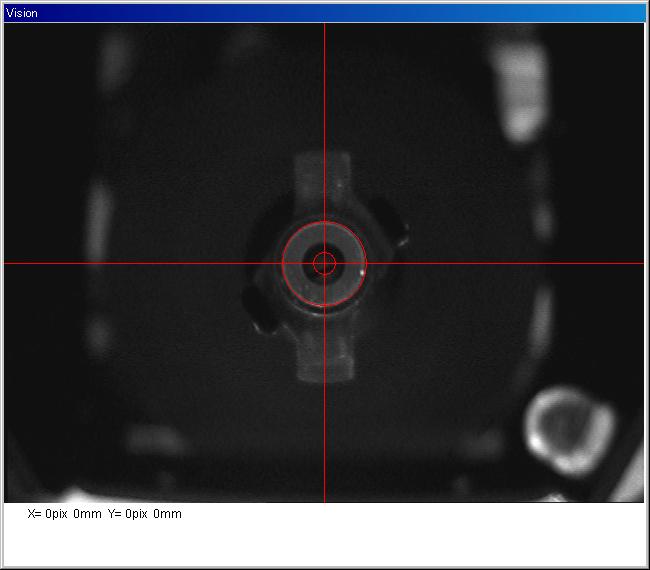
Our machine was great at picking up QFNs, QFPs, etc and finding them with bottom vision but when it came time to place the part, it was always 'off' by a millimeter in each way. We usually just 'fixed' this in the software by removing the offset from placement but later we realized that it was the bottom camera that was not aligned anymore.
To start, be sure to restart the software so everything is aligned correctly and re-homed. You can easily realign the bottom vision camera by going into the Nozzle mode (see above). Change the Nozzle to #2 or #5 (by Editing and then pressing F8 on Nozzle #2's position, pressing n to change nozzles and select 2 or 5, then press ESC. Once you have the right nozzle, go to posi2 (bottom vision camera position) and press F8.
Align the camera using the 1-step at-a-time movement, so its perfectly aligned. Then press ESC to leave, press F2 and save.
Moisture in the air tube
After not paying enough attention to the filter on my air compressor, I found a reasonable amount of moisture in the air tubes that I was worried could damage the machine internals. MDC offered the following advice:
It will not damage 7722 mechanism but followings are some tips to take care.
- Remove vac generator cap as shown attached photo which has urethane air filter inside (actually it is silencer) it may be wet then dry it or stay remove several days (it becomes noisy but no problem as function) Some case water goes to nozzle tip but if it is not too much just use it.
- Piping to the solenoid and tape actuating pistons may contain water since they are lower position so remove black tubes from joint and blow by dry air (if you can get it).
- Check aluminum manifold block of solenoid valves. There are several sealed screws so remove it and see if there is no water inside.
- Wipe 2 guiding shafts to hold head by cloth and apply slight light machine oil on it.

