This is an old revision of the document!
Table of Contents

Add a mini printer to any microcontroller project with this very cute thermal printer. Thermal printers are also known as receipt printers, they're what you get when you go to the ATM or grocery store. Now you can embed a little printer of your own into an enclosure. This printer is ideal for interfacing with a microcontroller, you simply need a 3.3V-5V TTL serial output from your microcontroller to print text, barcodes, bitmap graphics, even a QR code!
This printer uses very common 2.25" wide thermal paper, available in the adafruit shop, and any office or stationary supply store. It can fit up to 50 ft of paper in the bay at once. You will also need a 5 to 9VDC regulated power supply, that can provide 1.5A or more during the high-current print - our 5V 2A power supply will work very nicely.
We really like this printer because its easy to make Bold, underline, inverted text, variable line spacing, left/center/right justification, barcodes in 11 standard formats with adjustable height, and even custom bitmap graphics.
Of course, we wouldn't leave you with a datasheet and a "good luck!" - We have a full tutorial and matching Arduino library that demonstrates the following:
- Printing with small, medium and large text
- Bold and underlinetext
- Inverted text
- Variable
line
spacing - Left justification, center justification, right justification
- Barcodes in the following standard formats: UPC A, UPC E, EAN13, EAN8, CODE39, I25, CODEBAR, CODE93, CODE128, CODE11 and MSI - with adjustable barcode height
- Custom monochrome bitmap graphics!
- How to include a QR code
Power
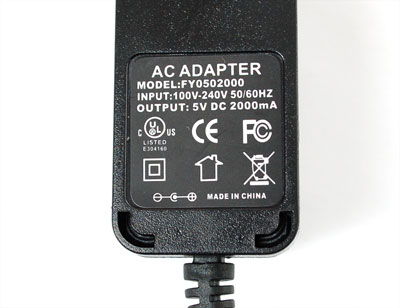
These printers use a thermal head to heat the special receipt paper and draw images & text. That makes the printer very small - there's no moving ink head - but it means they require a lot of power. This printer in particular requires 5 to 9 volts, 1.5A current! That means you will need a fairly beefy supply and you cannot run it off of USB power. An external adapter is required!
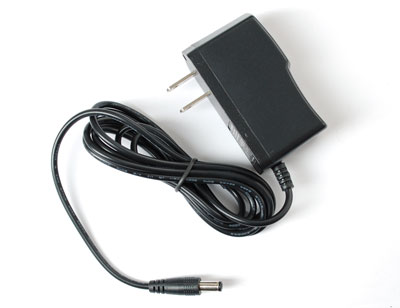
We suggest using the 5V 2A power supply in our shop, its got plenty of power to keep the printer happy and you can also use it to run some microcontrollers or sensors off of the remaining 500 mA current that is not required by the printer.
Note that the power usage is only when the printer is actually printing. Otherwise it uses much less power but you do need to have the capability to provide 1.5A during the printing
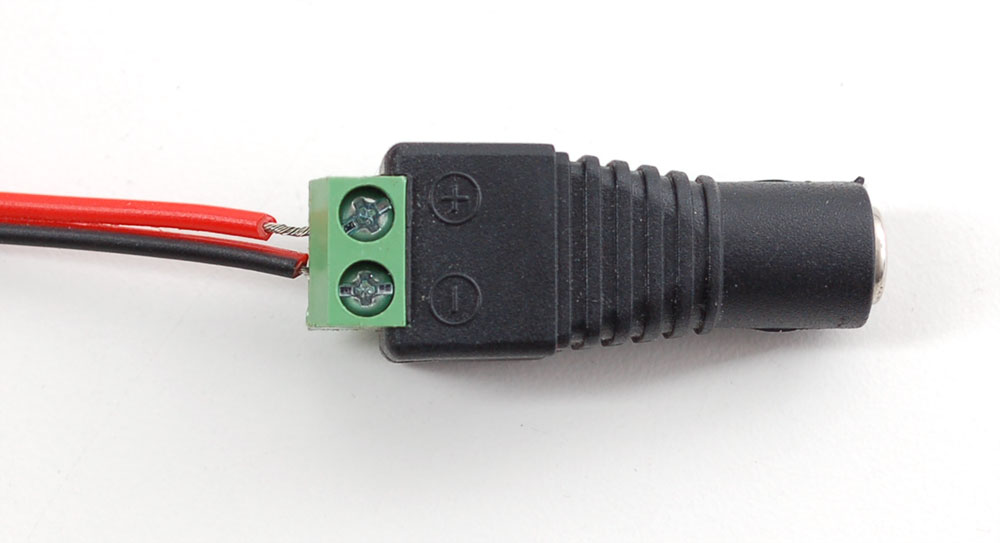
A quick way to power the printer is by just using a 2.1mm jack adapter (also available in the Adafruit shop), which you can attach to the red/black wires.
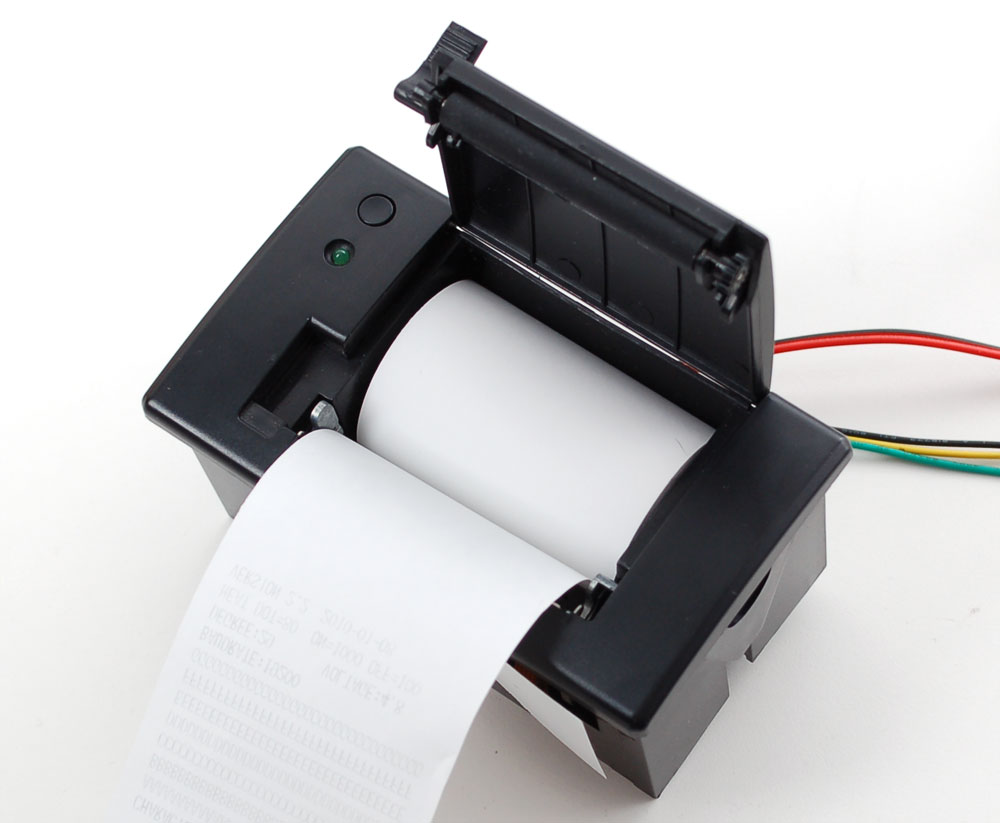
First Test
The first test you should do is to just make sure that the printer is running and you have the power wired up right. First up, pull the little plastic tab up top to open up the paper holder. Then insert a roll of 57.5mm (2 1/4 inches) thermal paper into the bay as shown below. The optimal length of the paper will be 50 feet (about 15 meters) so try to pick up that size. Sometimes if you buy paper from an office supply shop, its a little longer, around 80 or 85 feet in which case you'll need to remove paper from the roll until its 1.5"/40mm in diameter and fits easily. Make sure that the paper doesn't 'bind' or 'stick', it should rotate freely
Power the printer using 5V-9V 1.5A or higher power supply, such as wiring up a 2.1mm DC power jack
Hold down the button on the top of the printer while plugging in the power, you should see a receipt print out with the font table and some diagnostics.
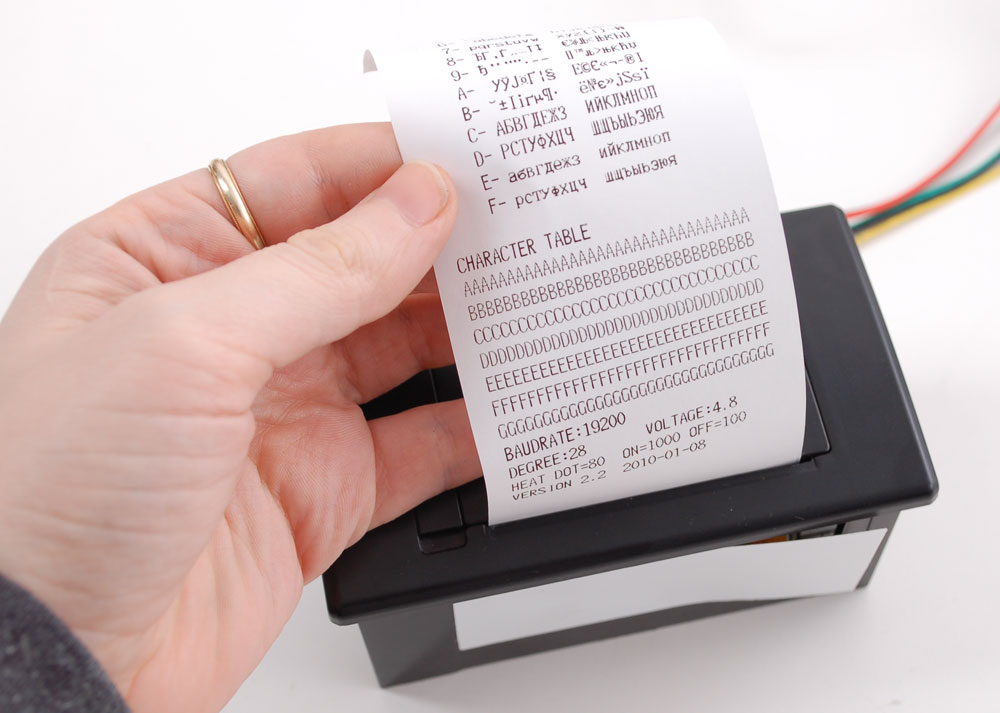
If you don't get a print out, check that the paper is inserted right, can turn, power is correctly wired, retry etc.
Microcontroller
To send data to the printer, we will use 5V TTL serial at 19200 baud - this is not the same voltage as +-10V RS232 serial that comes out of the back of a computer in a DB-9 port. While it is possible to use something like an FTDI cable to talk to the printer, we're assuming that nearly everyone will want to use it with a microcontroller. This tutorial will show how to wire it up to an Arduino and our code is Arduino-compatible. Any microcontroller that can output TTL serial 19200 baud will work, with adaptation to the code
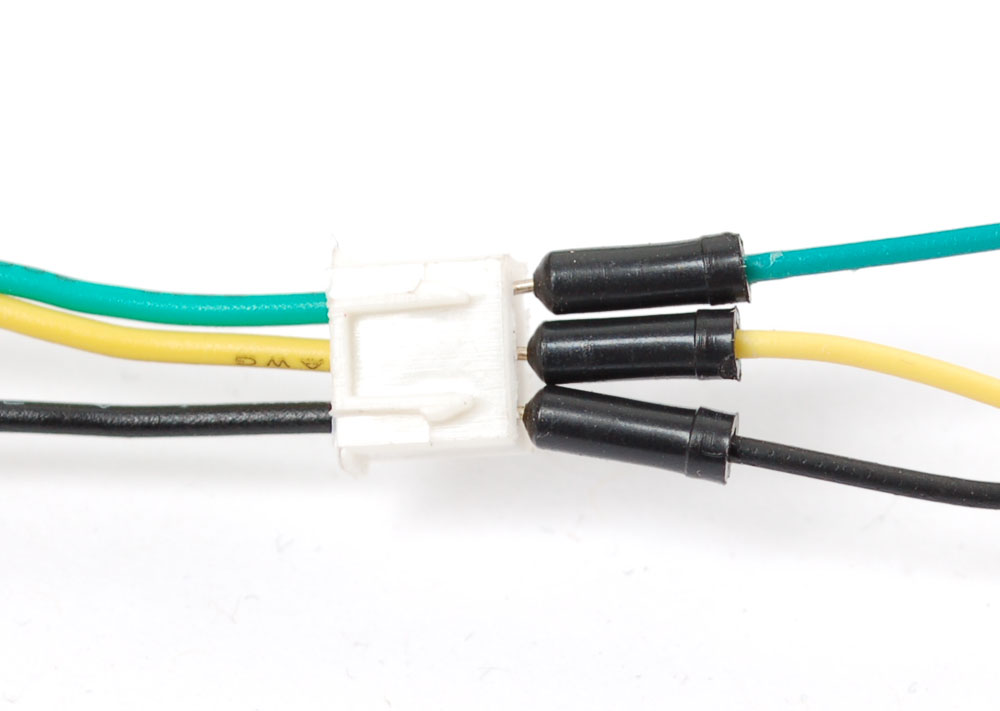
To start, we'll connect to the data cable of the printer, which has black/yellow/green wires. An easy way to connect is to simply plug in 22AWG or so wires of matching colors into the plug, then use those to bring the signal to an Arduino
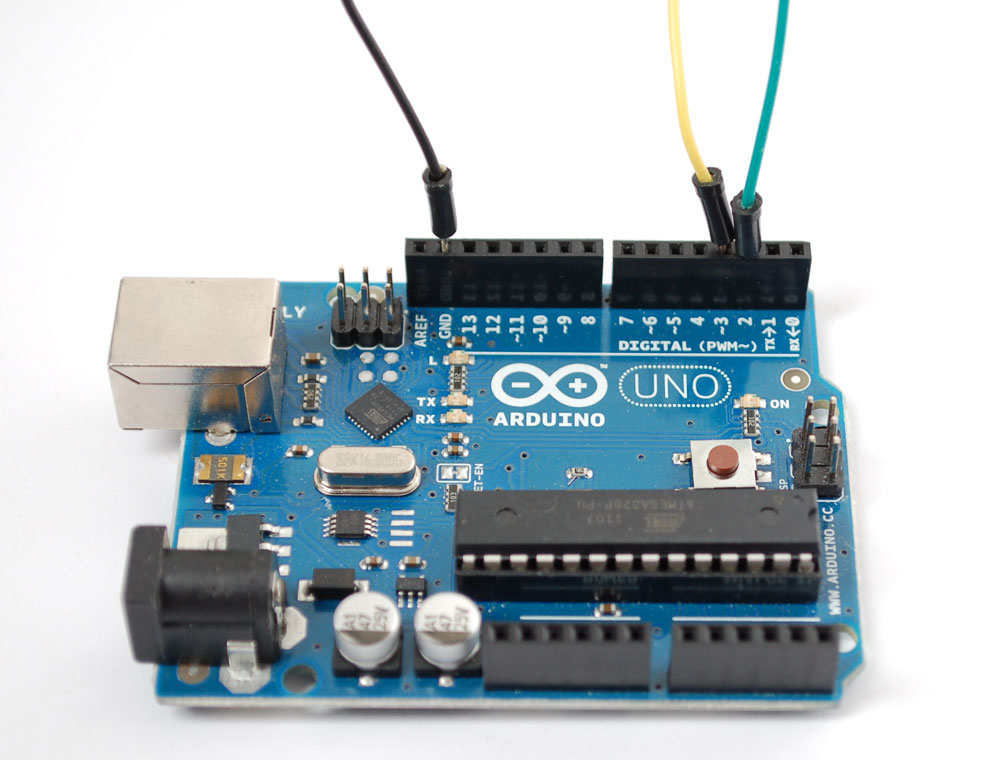
Then we'll connect to the Arduino, green goes to digital pin 2, yellow goes to digital pin 3 and black connects to any of the GND pins. You can change the digital pins later, but to match the example code, stick to this for now!
Now its time to download the Arduino library code. Visit the Adarfuit Thermal Arduino library . To download. click the DOWNLOADS button in the bar, rename the uncompressed folder Adafruit_Thermal. Check that the Adafruit_Thermal folder contains Adafruit_Thermal.cpp and Adafruit_Thermal.h. Place the Adafruit_Thermal library folder in your <arduinosketchfolder>/libraries/ folder. You may need to create the libraries subfolder if its your first library. Restart the IDE.
You'll also need to install the NewSoftSerial library if running Arduino 23 or earlier. Download it by clicking this link and install it as you did the Thermal library. Restart the IDE.
OK now you're finally ready to run the printer demo. Open up the Arduino IDE and select File→Examples→Thermal→printertest sketch and upload it to the Arduino. You should see the printer print out the example receipt which includes all the capabilities of the library
If its not working, first check that the printer and Arduino are both powered, that the printer has power and that the yellow/green wires are connected properly to the Arduino.
Printing Text
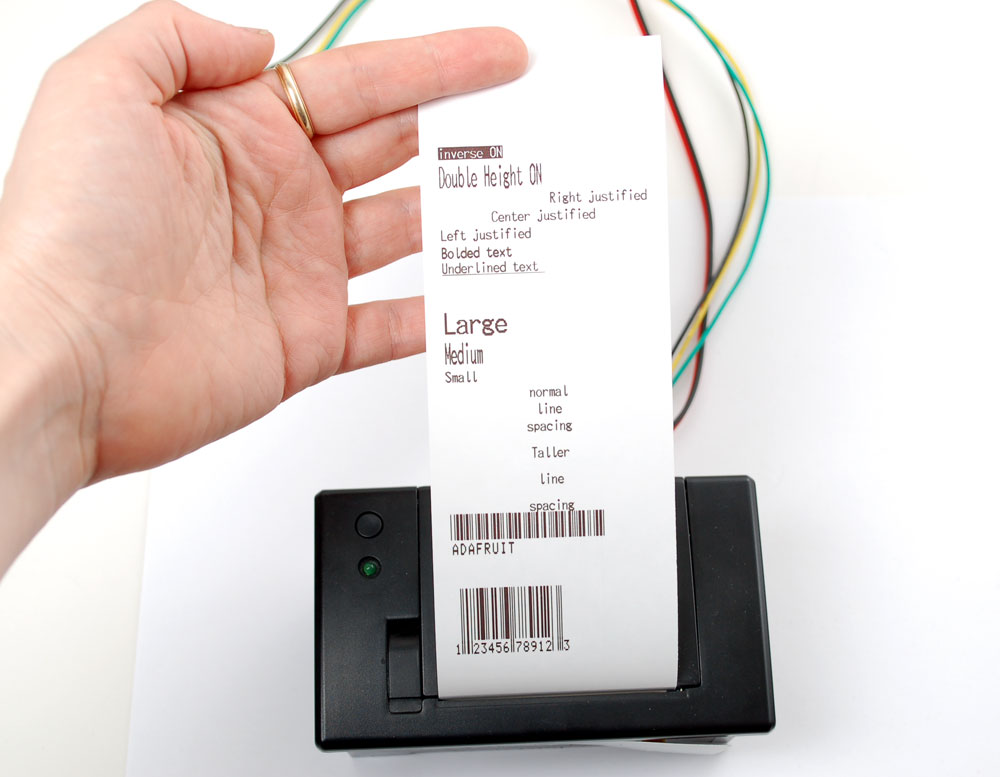
The thermal printer has a few handy things it can do, most of which are in the printertest sketch. These are shown in the image above, in order starting from the top. Click here to see the high-resolution image
- Inverted text - this is invoked by calling inverseOn() - you will get text thats 'white on black' instead of 'black on white' inverseOff() turns it off
- Double height - this makes text thats extra tall, call doubleHeightOn() likewise, turn off with doubleHeightOff()
- Left/Center/Right justified - this makes the text appear to bump against the left or right edge, or centered. You can set the justification by calling justify('R') (for right-justified), justify('C') (for center-justified) or justify('L') (for left-justified)
- Bolded text - makes it stand out a bit more, call with boldOn() and turn off with boldOff()
- Underlined text - makes it stand out a bit more, call with underlineOn() and turn off with underlineOff()
- Large/Medium/Small text - by default we use small, medium is twice as tall, large is twice as wide/tall. Set the size with setSize('L'), setSize('M') or setSize('S')
- Line spacing - you can change the space betweenlines of text by calling setLineHeight(<numpix>) where numpix is the number of pixels. By default its 32 but you can make it more to give more space.
Bitmaps
This printer can print out bitmaps, which can add a touch of class to a receipt with your logo or similar.
The first step is to get the logo prepared. The printer can only do monochrome (1-bit) images, and the max width/height seems to be 384 pixels. We suggest starting with a small bitmap (100 pixels or less on a side) and then experimenting to get the size and look you want.
Use a image-editing program to save your image as a 1-bit BMP - we use paint which is built into Windows
Then start up LCD Assistant which is windows only but does a really fantastic job!Load in the BMP you generated

It will auto-detect the width and height. Set the Byte orientation to Horizontal, Little endian and 8 pixels/byte. Set the tablename to something short but descriptive. Then Save Output and save it as something like <tablename>.cpp where <tablename> is the short & descriptive name
Open up the new cppfile and edit the top definition with static unsigned char attribute 1) to match this
You can now include it into your sketch. We like to make a new tab (the right arrow in the Arduino IDE bar) and save the image data in there. Then in your main sketch be sure to #include "tablename.cpp" where tablename is what you saved it in the tab. Check the printertest example sketch if you're not sure how to include the code properly.
You can now draw it by calling printBitmap(width, height, tablename) which will print out the logo in black & white. The printer is about 250 DPI (0.1mm per pixel) luckily the pixels are 'square'

Barcodes
Thermal printers are really good at printing barcodes! This printer supports 11 different codes - UPC A, UPC E, EAN13, EAN8, CODE39, I25, CODEBAR, CODE93, CODE128, CODE11 and MSI. It only supports linear (1-D) barcodes, and can't generate 2-D barcodes like QR codes (although there is a hack you can do, see below!) Barcodes are generated 'on the fly' which is nice - you can customize the height and data included quite easily
You can make a barcode by calling printBarcode("barcodedata", BARCODETYPE). where BARCODETYPE can be UPC_A, UPC_E, EAN13, EAN8, CODE39, I25, CODEBAR, CODE93, CODE128, CODE11 or MSI.
Some barcodes are very restricted - you can only put in 12 numbers, no characters. Others are very flexible and take nearly any character input. Please check out the wikipedia list detailing kinds of barcodes to pick the right one for your application
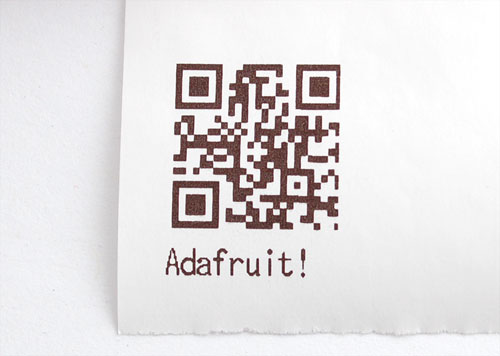
adaqr.bmp
Its also possible to print QR codes, if you're willing to pregenerate them. This might be handy if you want to say include a URL into the receipt and the URL doesn't change. You can generate QR codes at many sites including this one. Use the smallest QR code size. The image will be in PNG format so you need to convert it to 1-bit monochrome BMP - we use paint on windows. Then you can use the graphics-conversion technique above
Downloads
- Adarfuit Thermal Arduino library . To download. click the DOWNLOADS button in the bar, rename the uncompressed folder Adafruit_Thermal. Check that the Adafruit_Thermal folder contains Adafruit_Thermal.cpp and Adafruit_Thermal.h. Place the Adafruit_Thermal library folder in your <arduinosketchfolder>/libraries/ folder. You may need to create the libraries subfolder if its your first library. Restart the IDE.
- NewSoftSerial library - required for the Thermal library. Download and install it as you did the Thermal library. Restart the IDE.
