One of the nice things about the x0xb0x is that since it's an audio device, you can examine nearly all of the signals using a "sound card" scope. Basically, the waveform you want to check out is plugged in directly into the microphone jack of your computer. Note that if you do not attenuate and decouple the input you could possibly damage your microphone input.
A good idea is to build a 'probe' that will protect your soundcard and also make it easy to take measurements. You will need:
Note that this probe still sucks a lot compared to a real scope, it's OK for x0xb0x testing and other basic audio kits but probably not much else!
The 10K pot and the capacitor can really load down your circuit. If you can, try experimenting with potentiometers, try going as high as 1Mohm and the capacitor down to 1.0 uF.
| Image | Description | Part # |
Qty |
Price (approx) |
|---|---|---|---|---|
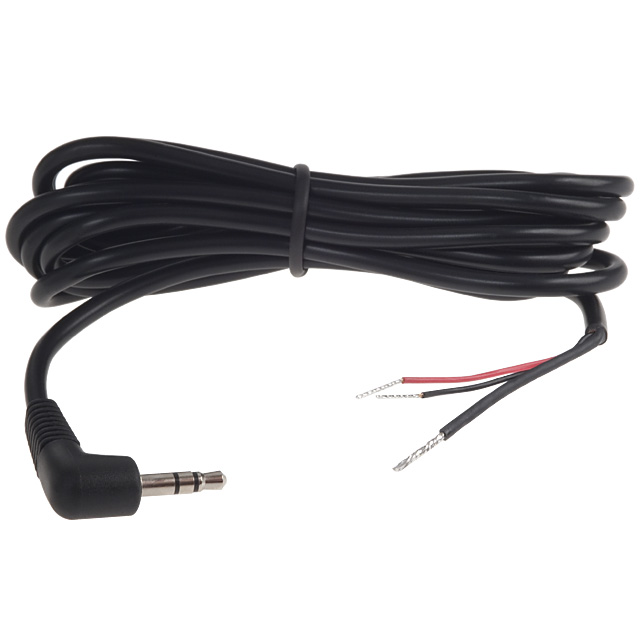 |
3.5mm audio plug that has been divided into wires You can make your own but its a pain and probably not worth it |
1 |
$3 |
|
 |
47uF or 100uF capacitor, 16V rating (or larger) You can also try using a 10uF cap in which case you should increase the potentiometer to 100K
|
1 |
$1 |
|
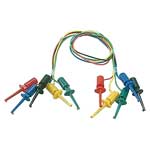 |
Alligator or test clips | 2 | $2 |
|
 |
10K potentiometer You can also try using a 100K pot in which case you can reduce the capacitor to 10uF |
1 | $2 |
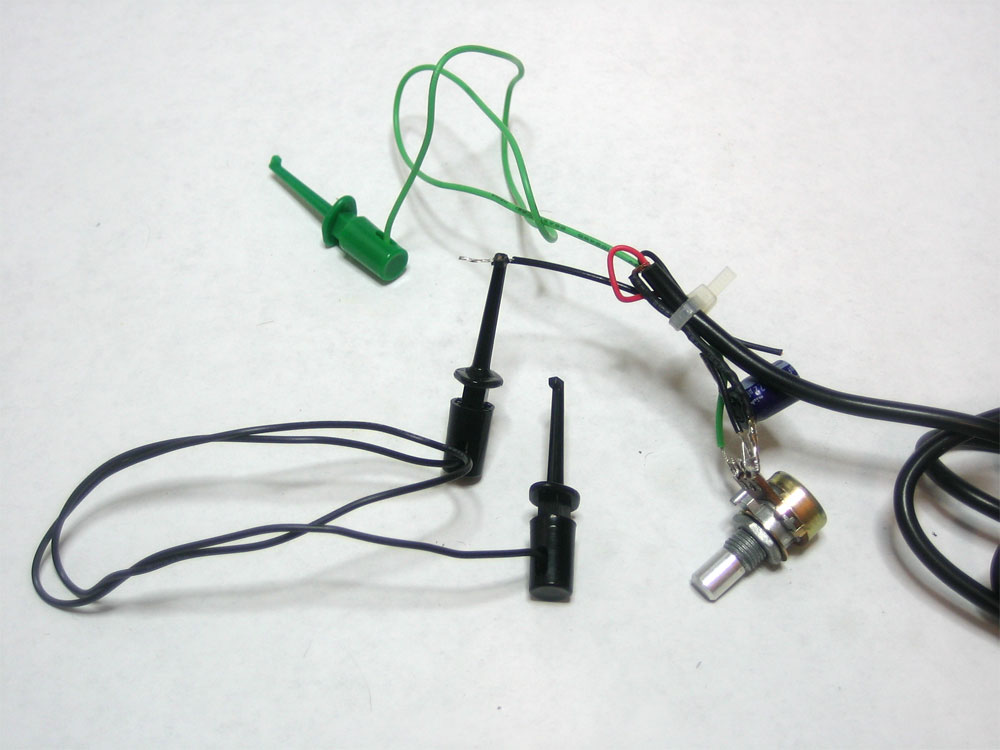
Solder the ground of the audio cable (probably the biggest wire, likely black) to the left pin of the potentiometer
Solder the negative pin of the capacitor to one of the audio cable inputs. Here there are two inputs (stereo) one red and one black. For some reason I got much better performance when I used the red wire. Try both. The positive pin of the capacitor connects to the middle pin of the potentiometer.
The right pin of the potentiometer is the 'input' probe, I soldered on half of a test clip cable to it.
The left pin of the potentiometer is the ground connection. I soldered on a wire and then use an alligator clip or a black test clip to connect this to the ground of the device I'm testing.
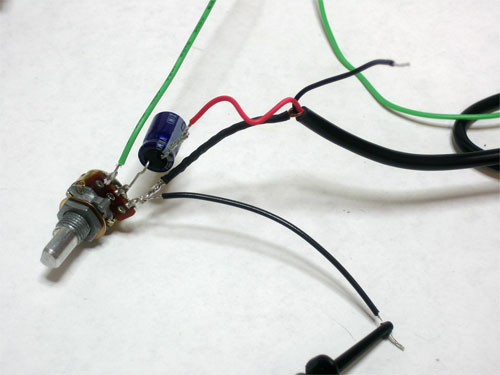
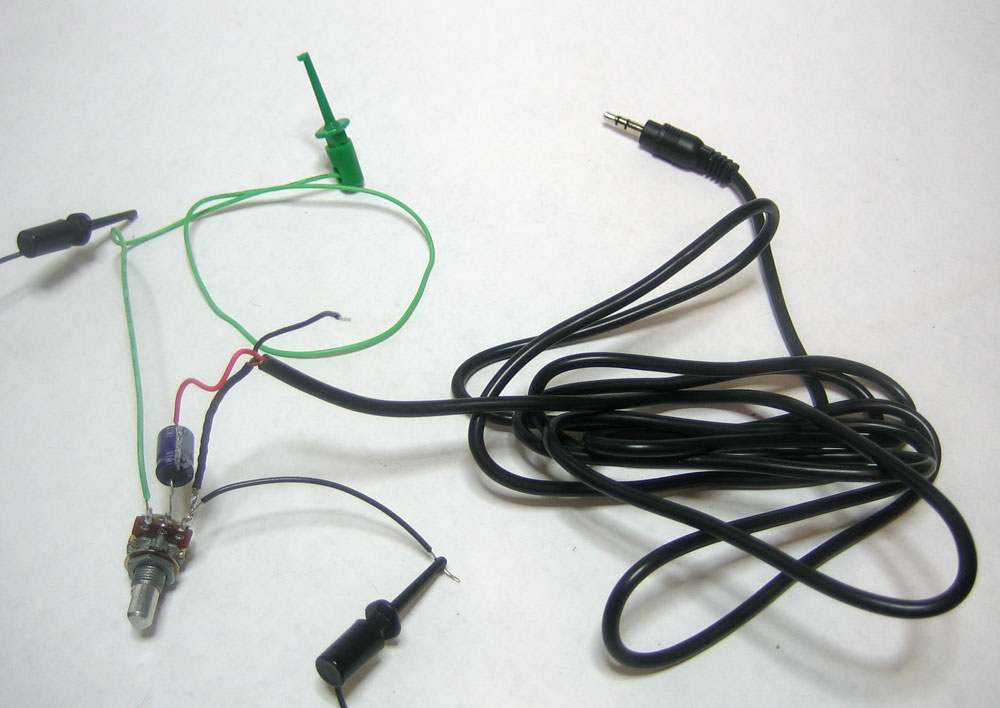
You can use a zip tie to keep the probe a little neater, as shown
Twist the potentiometer to change the attenuation of the input. Start in the middle and then go up or down until you can see the entire waveform.