Table of Contents
Solar charging - Installing the Capacitor
The first thing to do before starting to charge with a solar panel is to install the large filtering capacitor. This capacitor is necessary to stabilize the panel a little, and since we're going to charge with a lot of current, the capacitor needs to be pretty big. There is a spot on the PCB for the capacitor, you can of course install it directly there by soldering the wires of the capacitor into the pads.
Make sure to check the polarity of the capacitor, make sure the positive lead of the capacitor goes into the pad marked +!
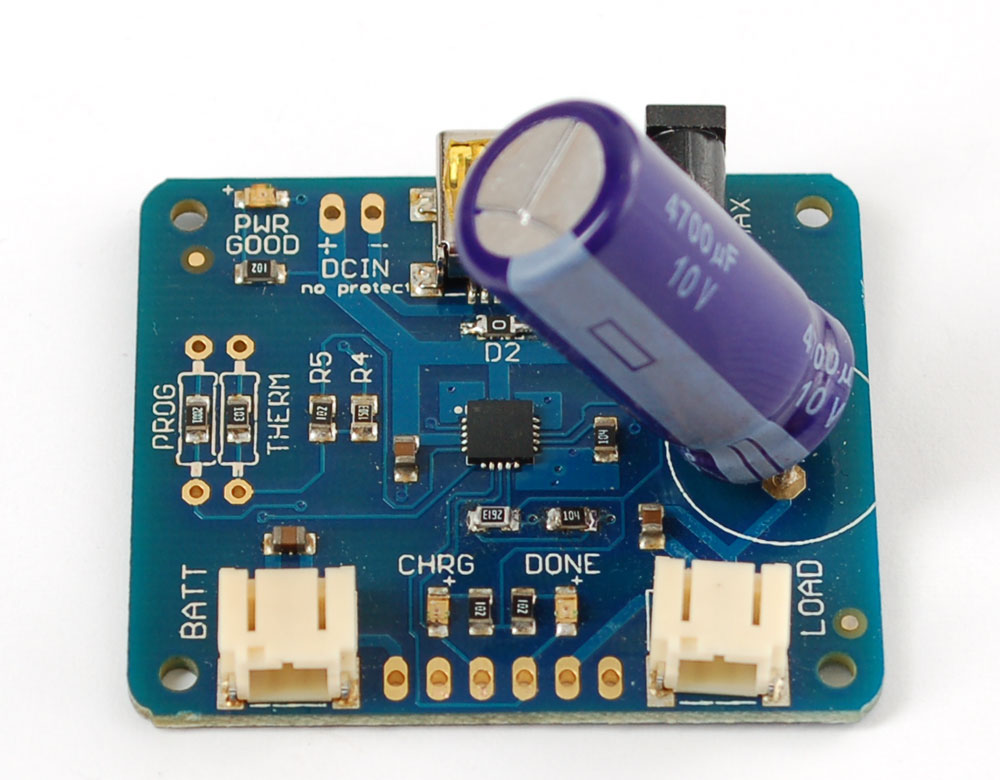
If you're low on space, you can solder wires to the capacitor and then install it a little farther away. Just remember to use heatshrink to keep the capacitor legs from shorting. If you want you can bend the capacitor over a bit as well, but dont have it touch the hot charging chip (the black square in the middle of the PCB)!
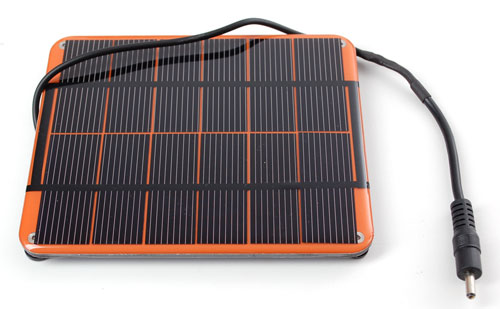
Next you will have to connect up your solar panel. Panels sometimes come 'bare' (no wires), with just wires, or with a connector of some sort. You may need to splice a connector onto the panel to match the 4mm DC jack on the adapter.
Solar panels - Splice or adapt?
The first verison of the solar charger comes with a 4mm DC barrel jack on it. We also provide a 5.5mm→4mm converter cable. So you can do one of two things
- Connect a 2.1mm Terminal Block Adapter onto the panel using basic wires, then plug that into the 2.1mm adapter. This is the fastest method, but not as rugged
- Cut the adapter cable in half and splice the 4mm connector onto the panel. This is the most 'elegant' method - the panel will plug right into the board but its more work.
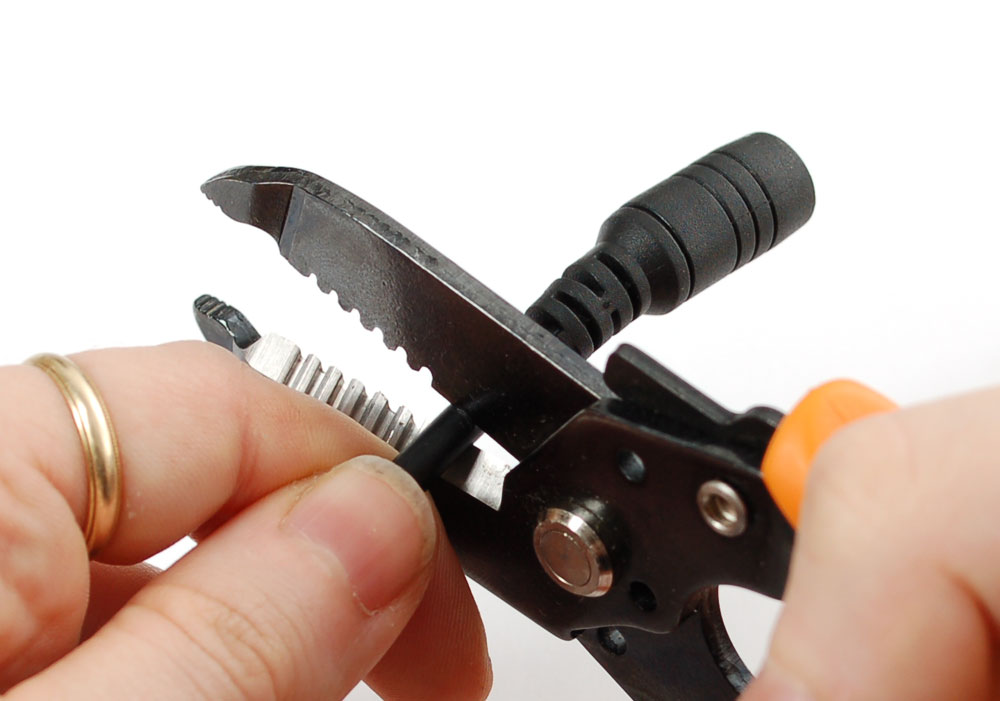
For both methods you'll need to remove any existing connector. Cut off whatever connector is on
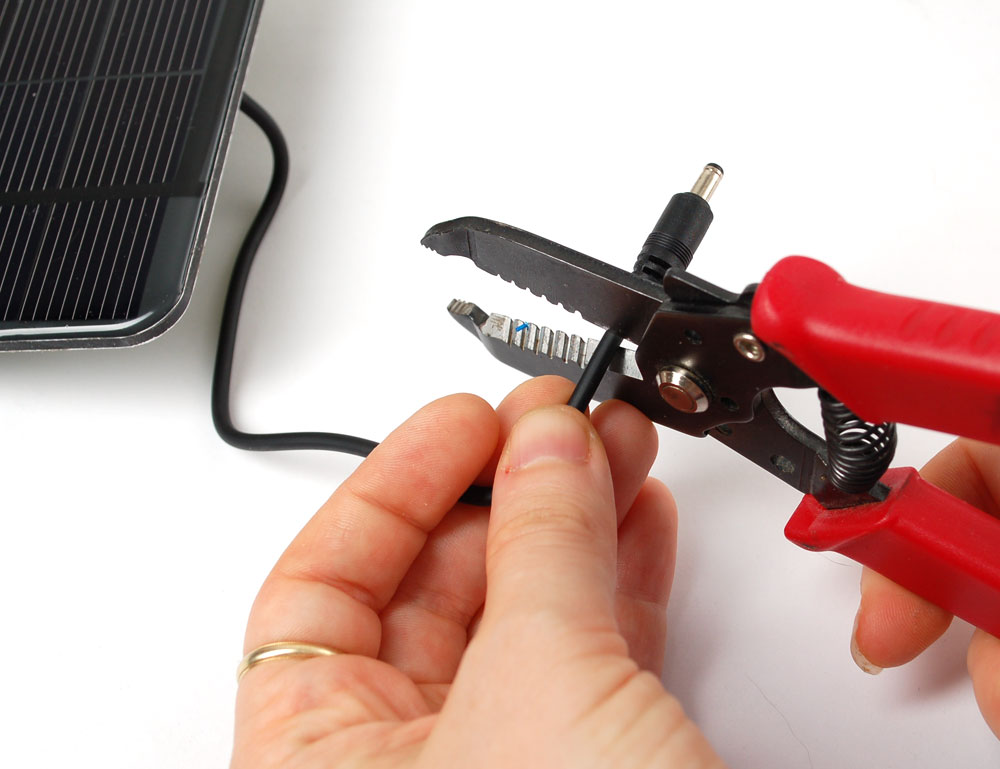
Gently remove the outer casing without nipping the inner wires
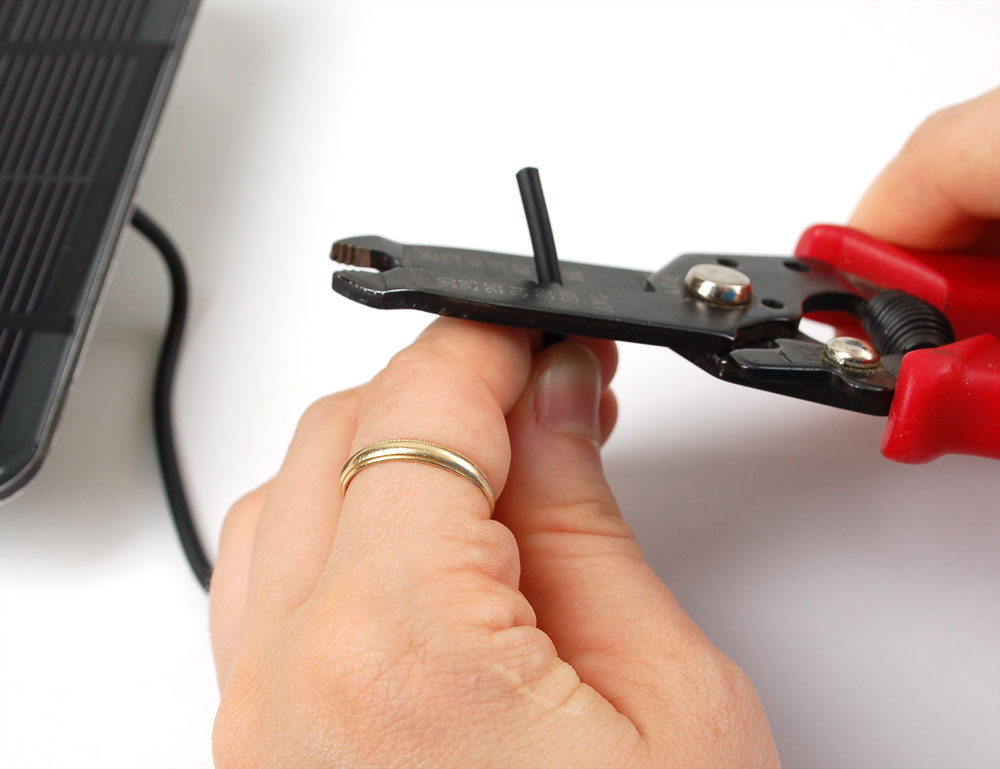
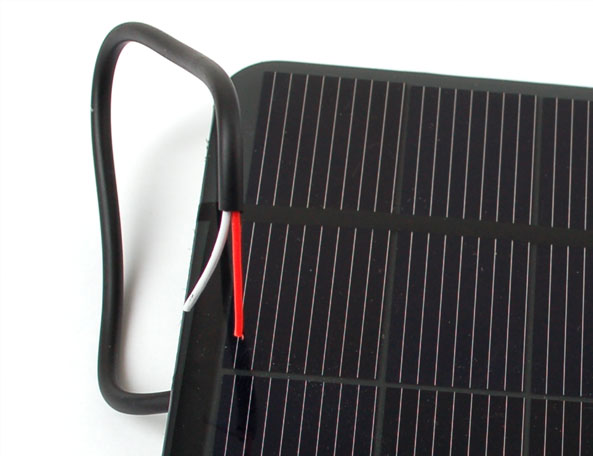
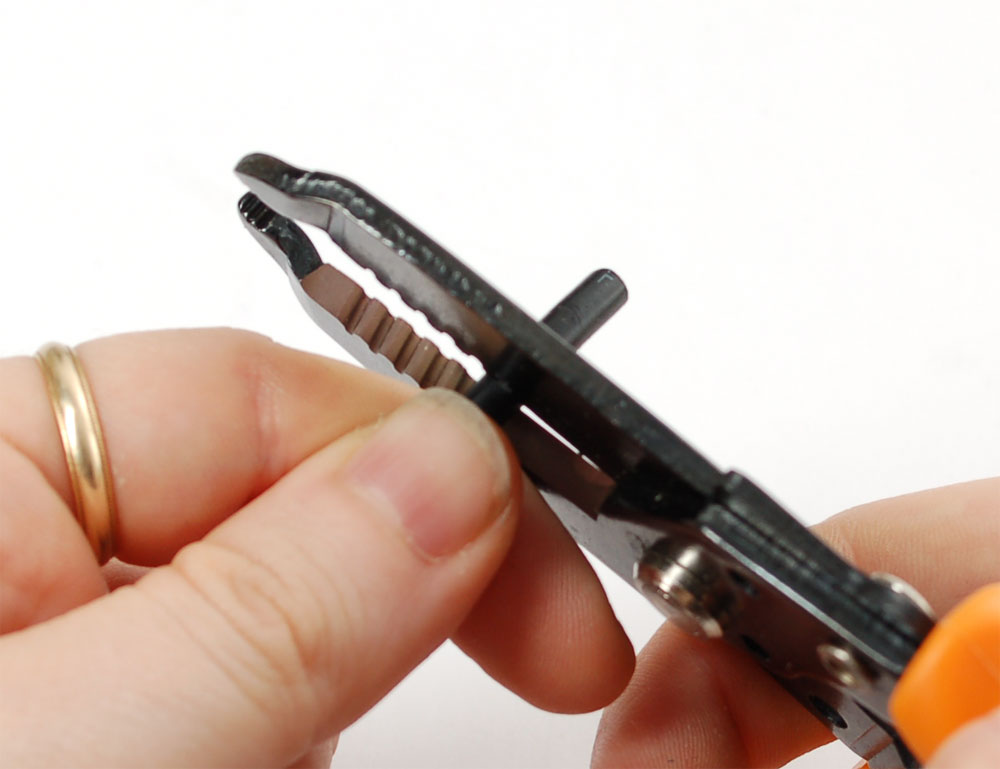
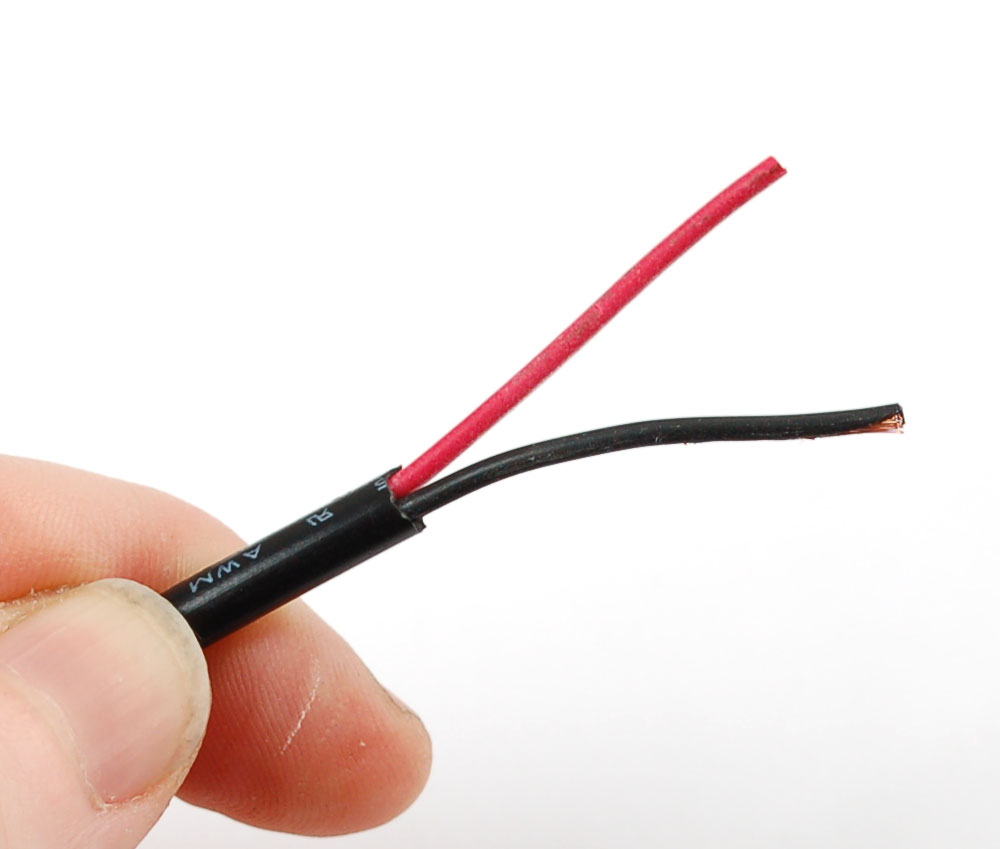
Strip and tin the inner wires
Method 1
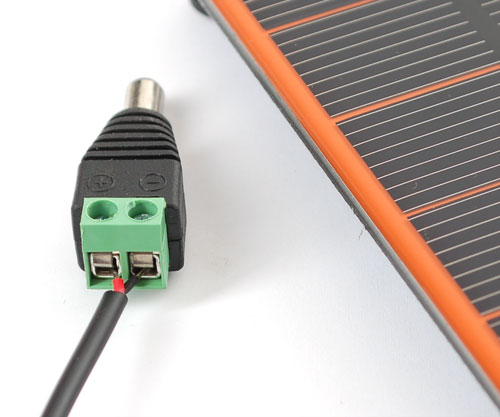
For this you'll need a 2.1mm Terminal Block Adapter but its really simple. Just open up the screw terminals, slide the red wire into the + hole and the black wire into the - hole and retighten! Now you can just plug it directly into the adapter cable.
Method 2
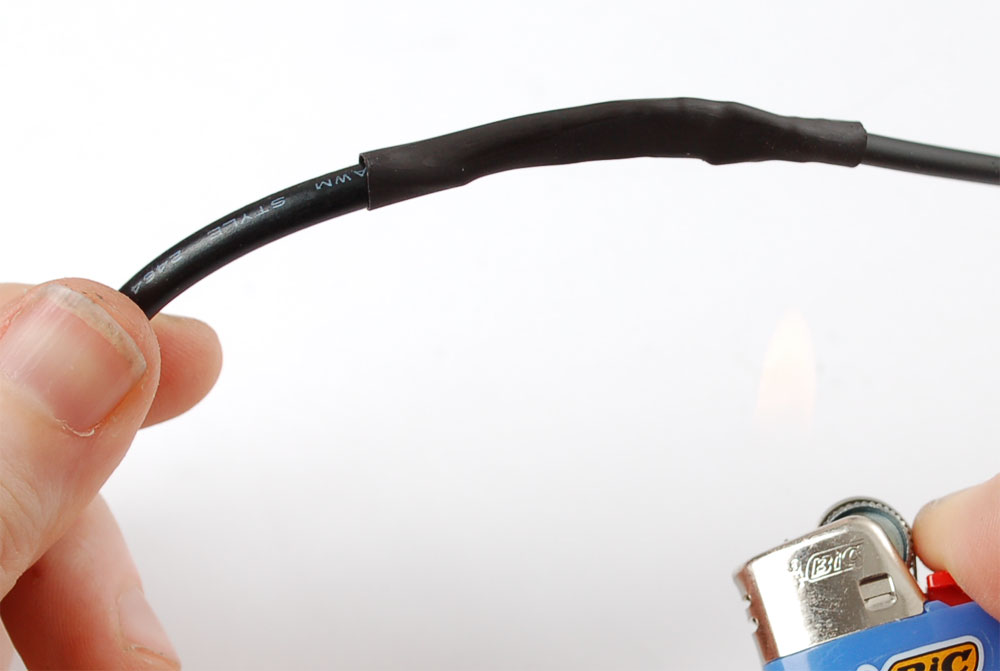
This method is a little tougher, but results in a nicer cable. You'll need some heatshrink as well as some item with a 2.1mm DC barrel plug (like the 2.1mm adapter)
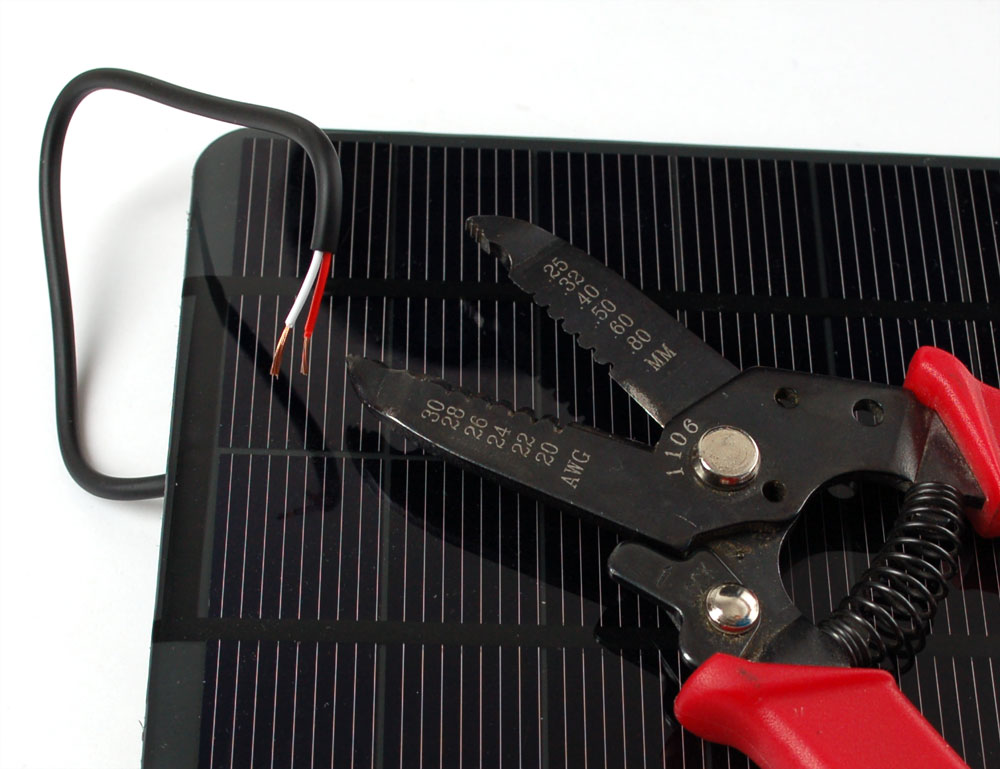
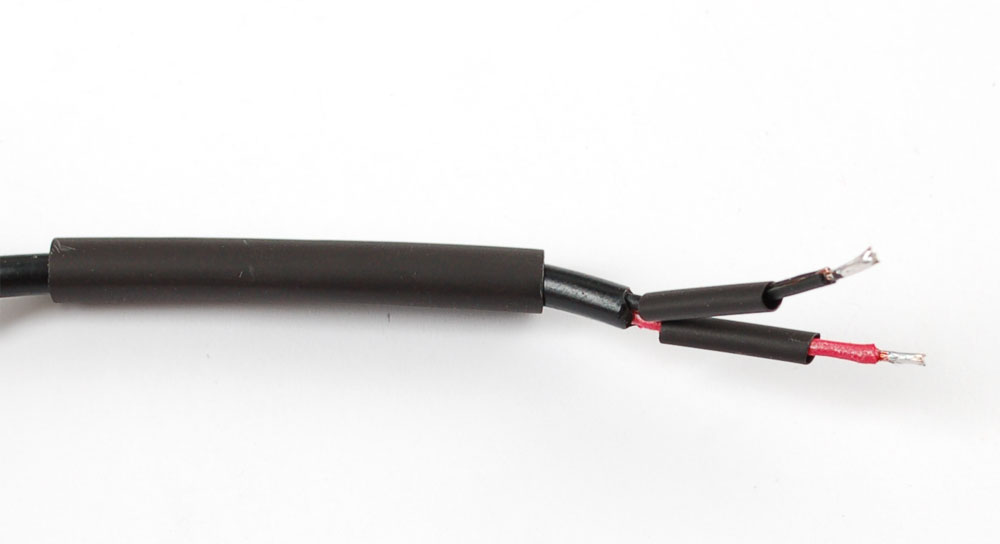
Cut off anything on the opposite end
And carefully strip off the outer sheath
You'll want some longer wires on this side, maybe 1.5" (3-4 cm)
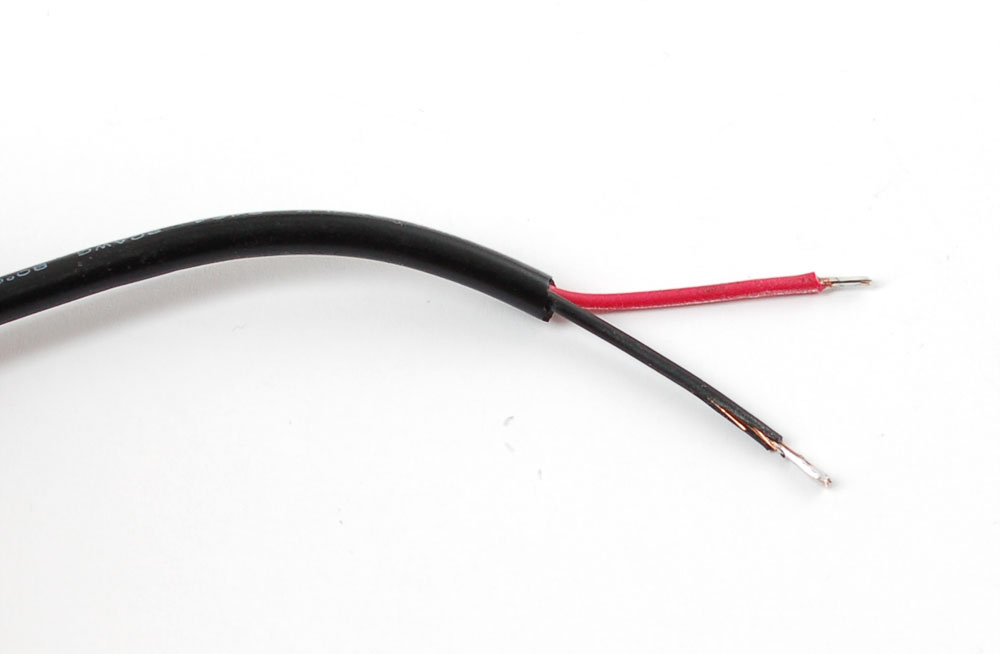
Strip just the ends of the wires and tin them
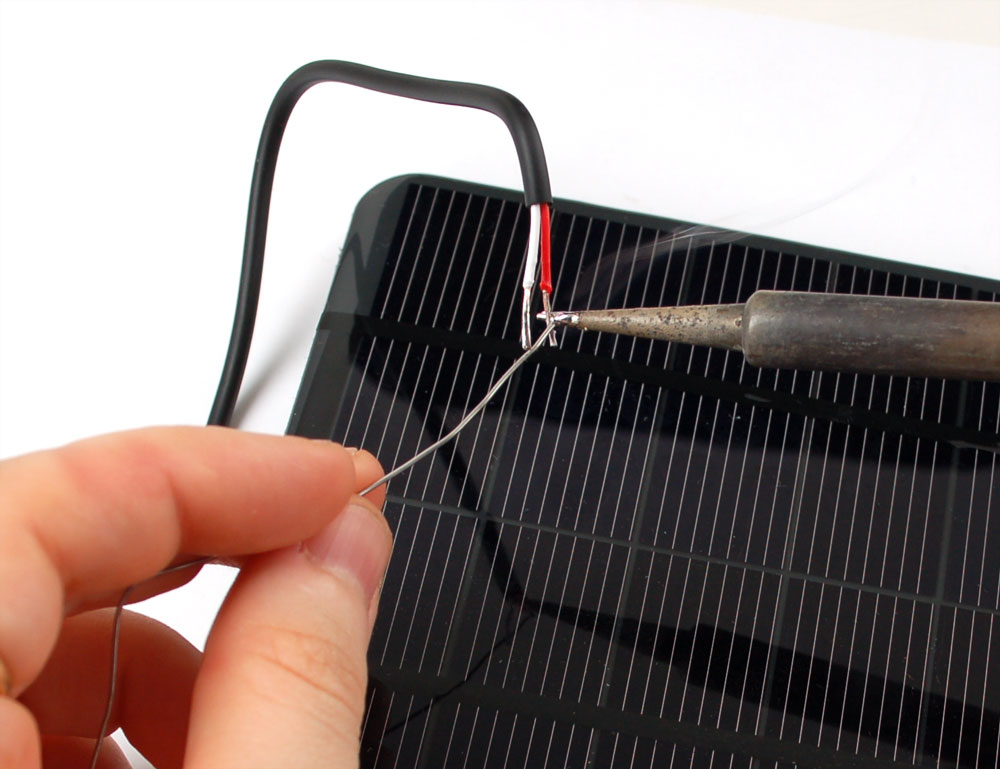
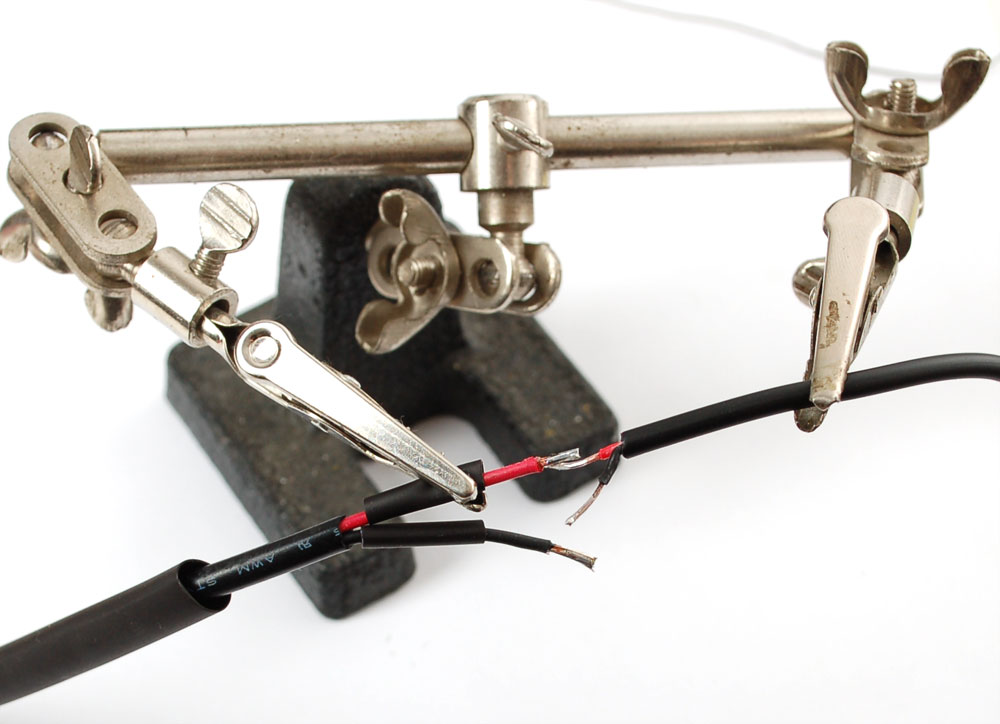
Place a big piece of heatshrink onto the cable, and then two shorter and smaller pieces on each of the wires
Solder red to red and black to black, keep the heatshrink away from your soldering iron since it may shrink too fast!

After the solder cools off, pull the smaller shrink onto the wires and heatshrink them!
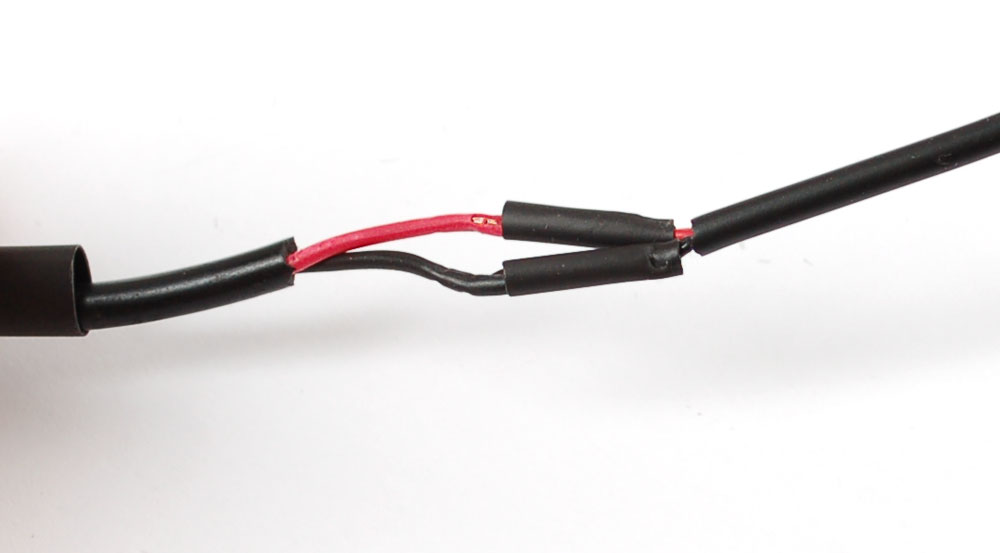
Then pull the big piece over everything!
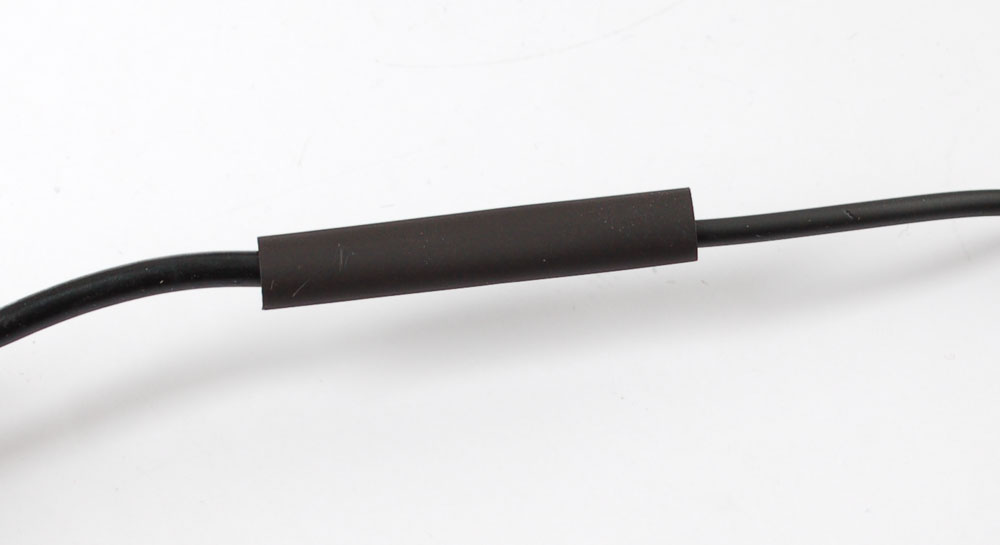
And heatshrink it (with a hot air gun if you have one, or carefully with a lighter if you don't)
That's it! Check with a multimeter, in the sun, to verify that you have a open circuit voltage on the plug