There are three ways to configure an XPort
- Telnet to port 9999 of the XPort
- Use an FTDI cable to make a serial connection
- Use a "wire hack" to make a serial connection
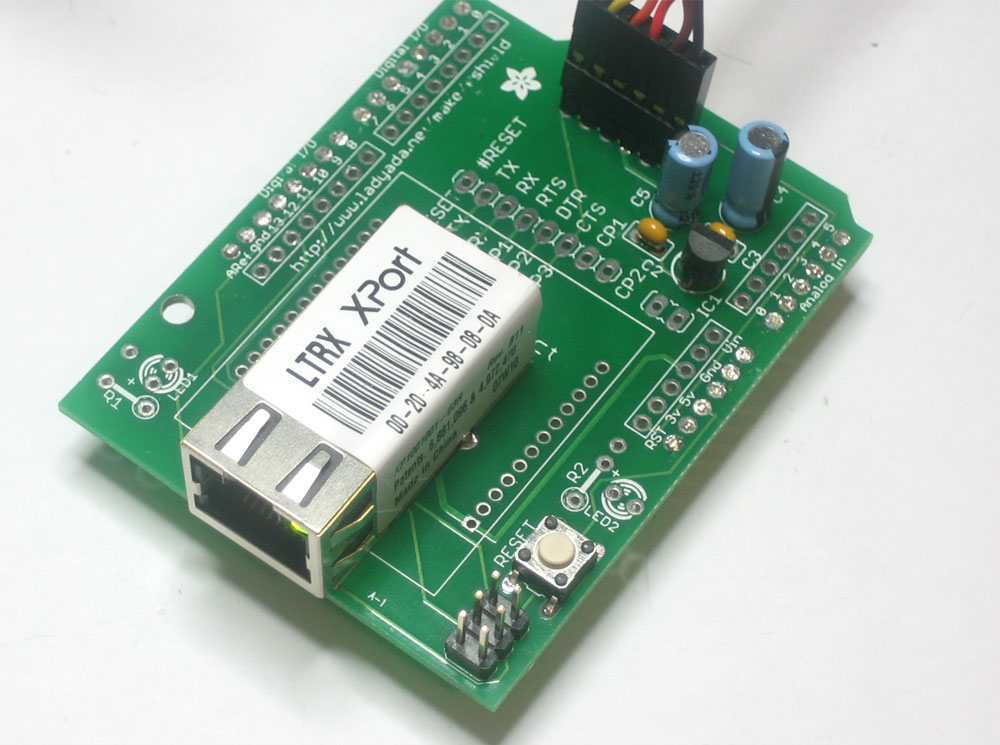
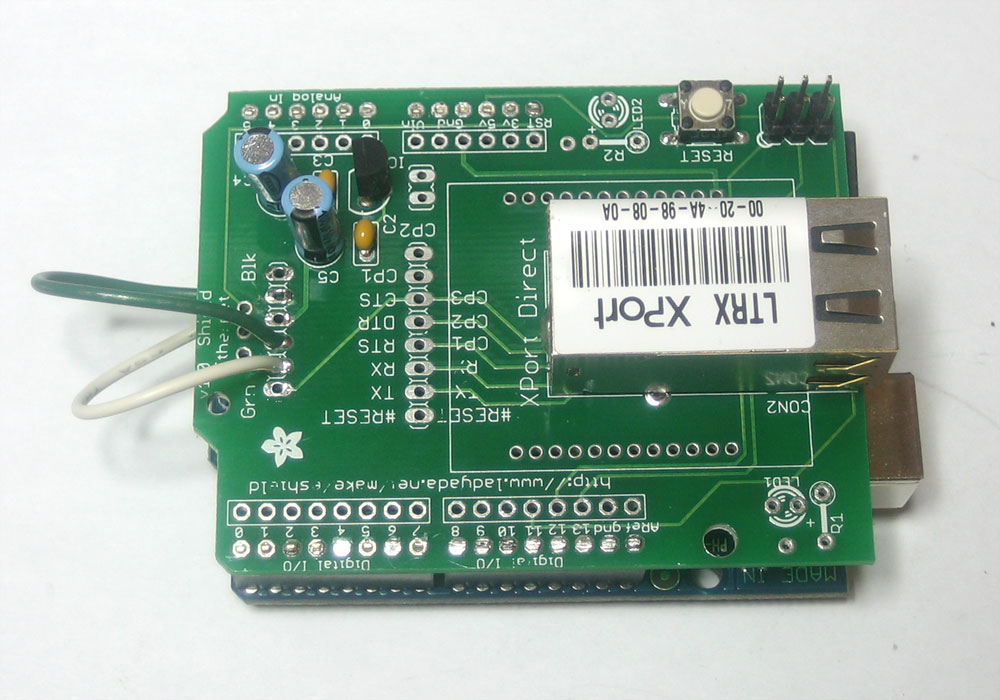
Once you have the shield assembled and the XPort plugged or soldered in, you'll want to configure it. You only have to do this once.
If you have DHCP, this is very easy. Simply plug the shield into the Arduino and an Ethernet cable into the Xport. The XPort will automatically get an IP address. You can then configure it using the Lantronix "DeviceInstaller" software. You can figure out its IP address and then telnet to the IP address, port 9999 to configure.
This is by far the easiest way to configure the XPort so I suggest it instead of trying to configure it with the serial port
If you dont have DHCP, you will have to connect to the serial interface.
If you have an FTDI cable, simply solder in a 6-pin header into the spot on the shield to connect the cable. Make sure the shield is not on the Arduino. Then plug in the FTDI cable as shown, making sure that the Green and Black wires are aligned as marked
Now skip down to "Configuring the XPort via Serial"
If you dont have an FTDI cable, you can actually just use the FTDI chip on the Arduino itself. Its a little tricky but not too hard to do.
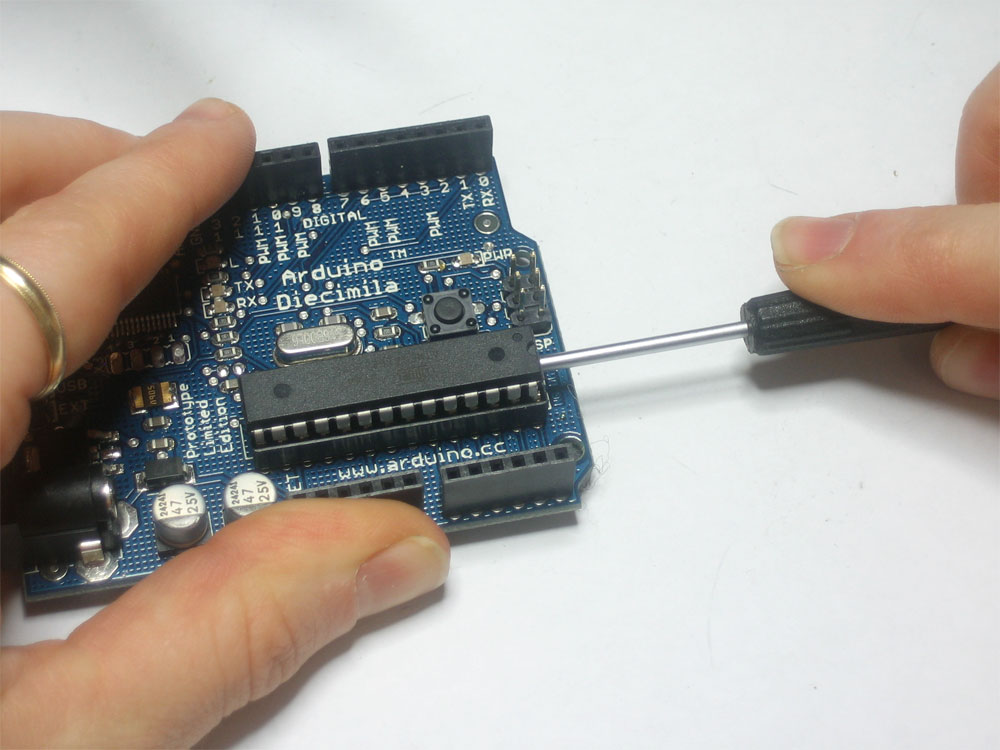
First, gently pry the Arduino microcontroller from its socket using a small flat screwdriver or similar. Try to make sure the pins dont get bent. Put it in a safe place. Preferably in an anti-static bag.
Next, solder two wires to the shield, as shown. Use different colors to make it easy to tell the difference. Solder one wire to the second hole from the top as shown here, and the second wire to the third from the top. Make sure the wires are plenty long.

Plug the two wires into the now-empty socket of the Arduino, as shown. The white wire is in the 3rd socket hole from top. The green wire is in the second socket hole from the top.
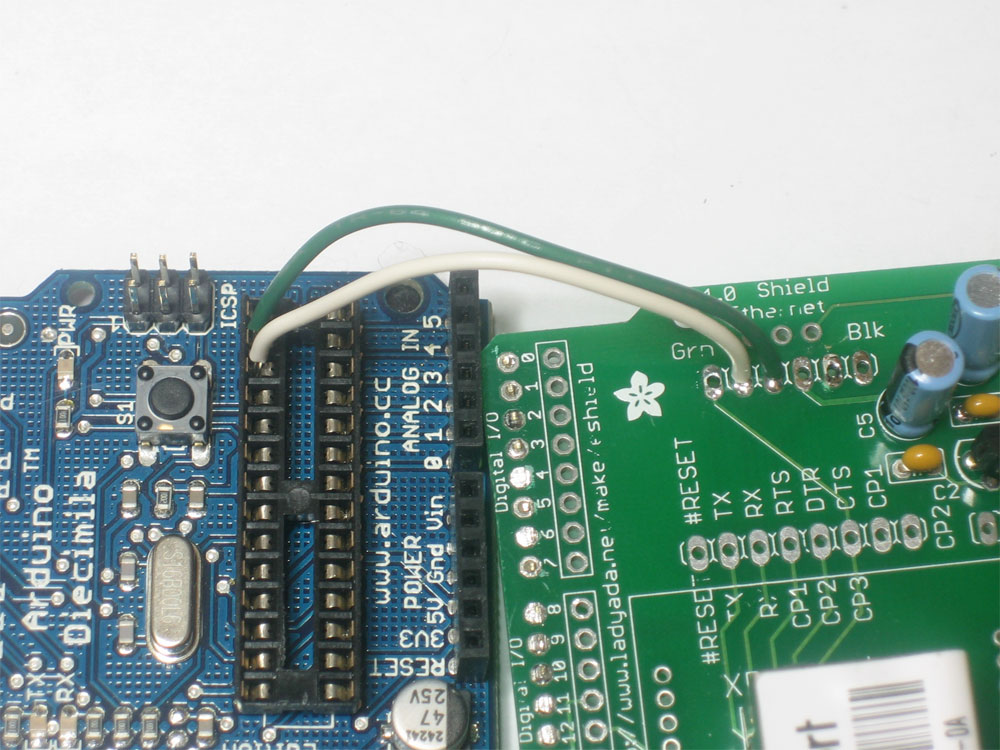
You can now plug the shield onto the Arduino.
Now go to the next step...
Once you're done configuring the XPort, remove the wires and gently re-insert the microcontroller chip
You'll need to figure out which serial port (COM) you are using. Plug in the Arduino (if you're using the wire hack) or the FTDI cable. Under windows, check the device manager, look for "USB Serial Port"

Next you'll need to open up a terminal program. Windows comes with Hyperterminal, so just use that. Its under Start->Programs->Accessories->Communications->HyperTerminal.
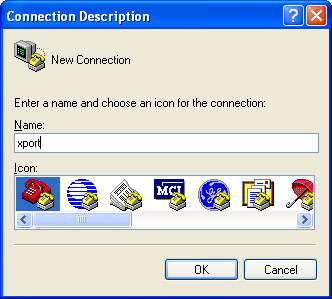
When you open it up, it should ask you for a new connection. Lets name it "xport"
Next You will select the COM port from the drop down menu, in my case its COM10.

Next, set the properties. Make sure you select 9600 bps, 8 bit, No parity, 1 stop bit and no flow control. Some programs may call this (9600 8N1). If the XPort has been configured for a different baud rate, of course, you should use that.

You will get a blank screen that says "Connected" in the bottom left corner.
Now is where you have to be a little fast!
- If you have an FTDI cable, unplug the cable from the shield (but not from the computer). Wait 3 seconds. Then plug the cable back into the shield and within a few seconds type in xxxx (4 x's) into the Hyperterminal screen
- If you are using the wire hack, its a little tougher. With the Arduino plugged into the USB port and keeping the 2 wires in place, remove the shield. Wait 3 seconds. Then plug the shield back into the Arduino and as soon as you can type a bunch of 'x's into the Hyperterminal window.
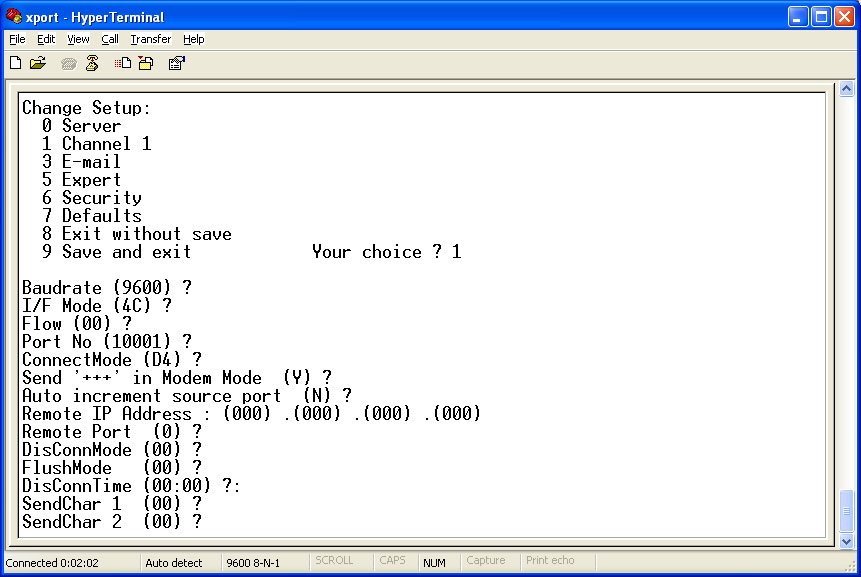
If you are successful you will see the setup screen in the next step
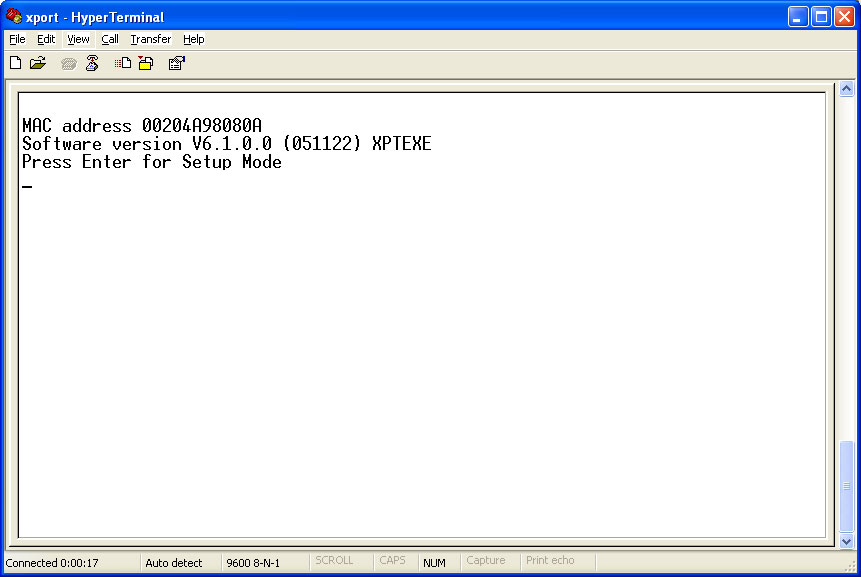
Press Enter! The Xport will send its current configuration and then provide a screen that you can change the XPort configuration
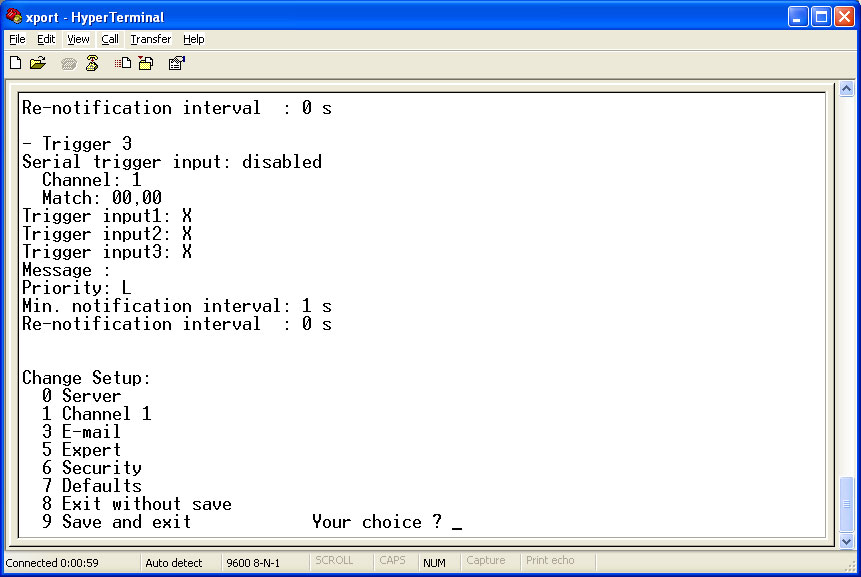
If you want to set the static IP address of the Xport, type in 0 and then enter in the ip address and gateway. You should be able to telnet to port 9999 of the XPort if its setup correctly

You can also change the serial port settings. Unless you're sure you want a different configuration, you probably dont want to change the settings.