The YBox2 kit comes with a default 'weather widget' which will connect to a custom webpage and get the local weather forcast for a given zip code. While this is fun and useful, you may decide that you'd like a different widget on your YBox2. No problem! Updating the widget is easy and can be done over the network connection
Please note that the YBox2 can only run one program (widget) at a time and once you upload a new widget you have overwritten the old one. To 'go back' you'll have to re-upload the previous widget
When purchased as a kit, the YBox2 EEPROM is preprogrammed with a bootloader. A bootloader is a program that lets you load new programs without the use of a programming cable. This is great because it means you don't have to buy a cable to simply upgrade the widget.
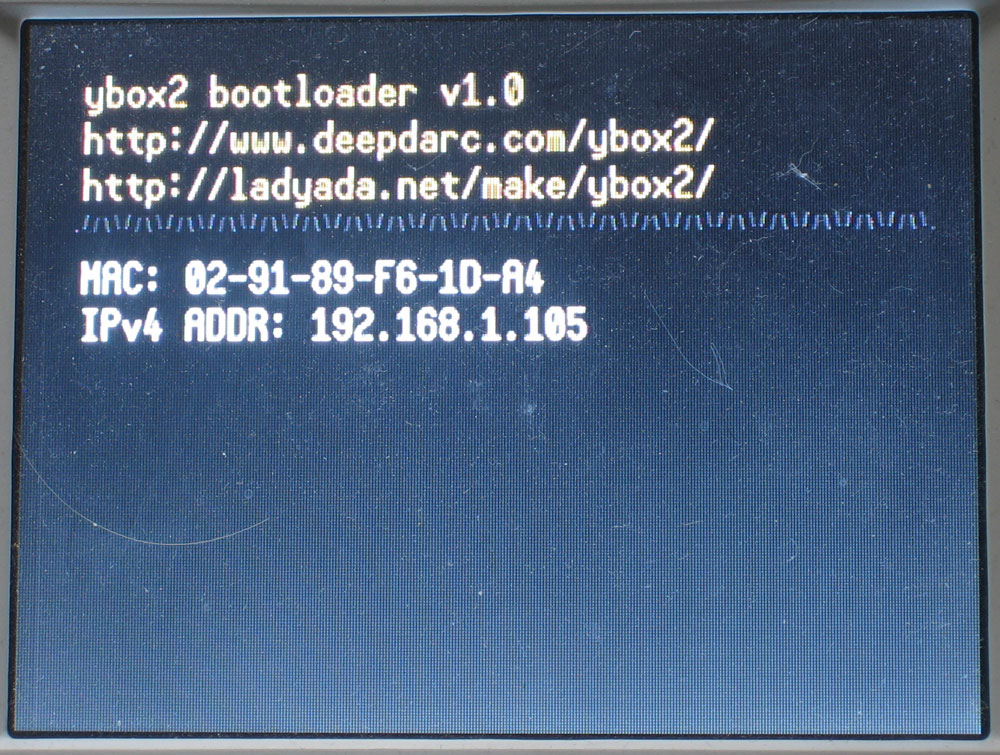
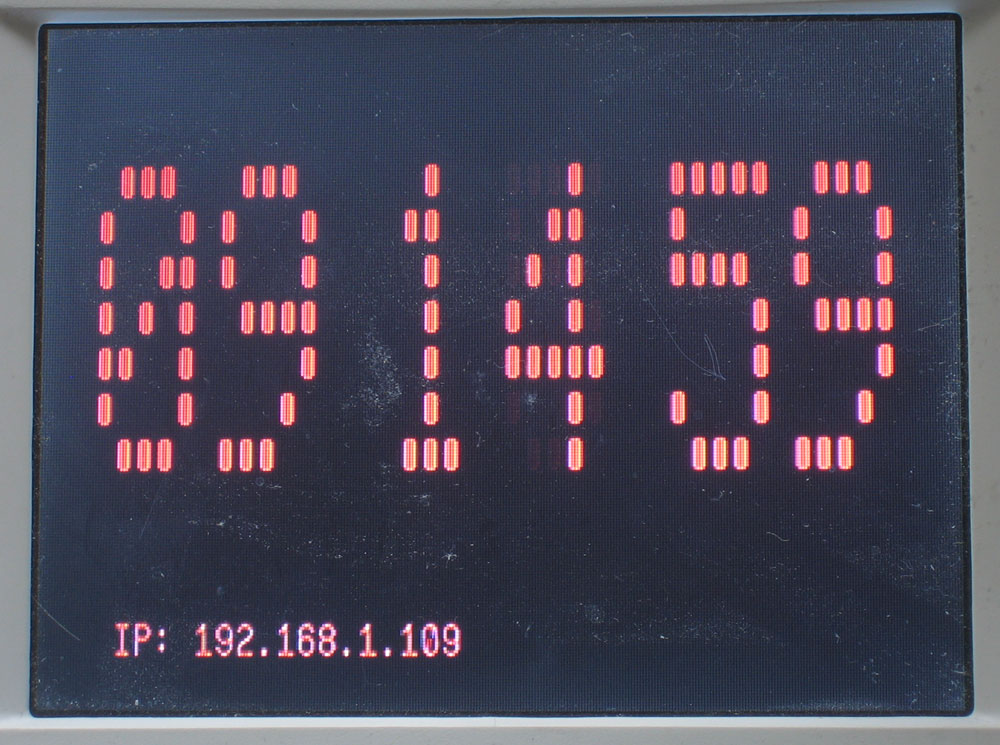
When you first start the YBox2, you should see a screen that indicates the YBox2 bootloader has loaded. It will also display the IP address of the YBox2. Make a note of the IP address as this is how you will connect to the YBox2 and upload a widget
The first thing you'll want to do is get to a computer that is on the same network as the YBox2. That is, it is connected to the same router, etc. This will likely be your desktop or laptop computer.
Now you will test the connection. I will assume a Windows machine is being used. If you have Linux or Mac OSX the process is identical.
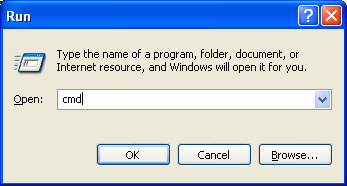
Open up a command line window. Under Windows, click Start->Run... and then type in cmd and click OK .
Under Linux, use any sort of terminal, such as XTerm.
Under MacOS X you will want Terminal, which is in the Utilities folder.

Now you will have a black and white command window you can type into. You'll be in your 'home directory' but for consistancy we'll first go to the 'root directory' C:\
Type in cd C:\ and press return. The prompt should change to indicate you are now in the root directory.
Type in ping xxx.xxx.xxx.xxx where the x's are the IP address from the bootloader screen. For example, if my YBox address is 192.168.1.105so I would type in ping 192.168.1.105
A ping is a way of 'poking' a computer or device on a network and saying "are you alive"? In this case, the ping command will try 4 times to connect. Sometimes it is not successful each time, such as above, it failed twice. Thats OK. It did succeed twice which means we were able to connect at all which is all we need to know.
Next, we will download an install cUrl (which, I will refer to as curl) . This is a small program that we can use to upload a widget directly to the YBox2. Go to the binary download page and select the computer type you have.
For windows XP/2000, I suggest the Win32, Generic, No SSL package. Mac OS X and Linux users will find that curl is already installed on their computer.
Uncompress the zip file and drag the executable curl.exe to your Windows directory (On my machine its C:\WINXP but it may also be C:\WINDOWS). Now back in your command window, try running the curl command

You should get the same response.
Finally, its time to upload a widget. Lets go with the Alarm clock widget example. Download the alarm clock widget binary from the download page.
Save it in the C:\ directory
Now go back to the command line terminal and type in
curl http://xxx.xxx.xxx.xxx/stage2.eeprom -T alarmwidget.binary
like with the ping command, replace the xxx's with the YBox2 IP address. If you want to upload a different widget, replace alarmwidget.binary with the file you want to upload. Then press return
On the YBox2 display, you will see a whole bunch of dots and the LED will flash red and blue as it receives data.
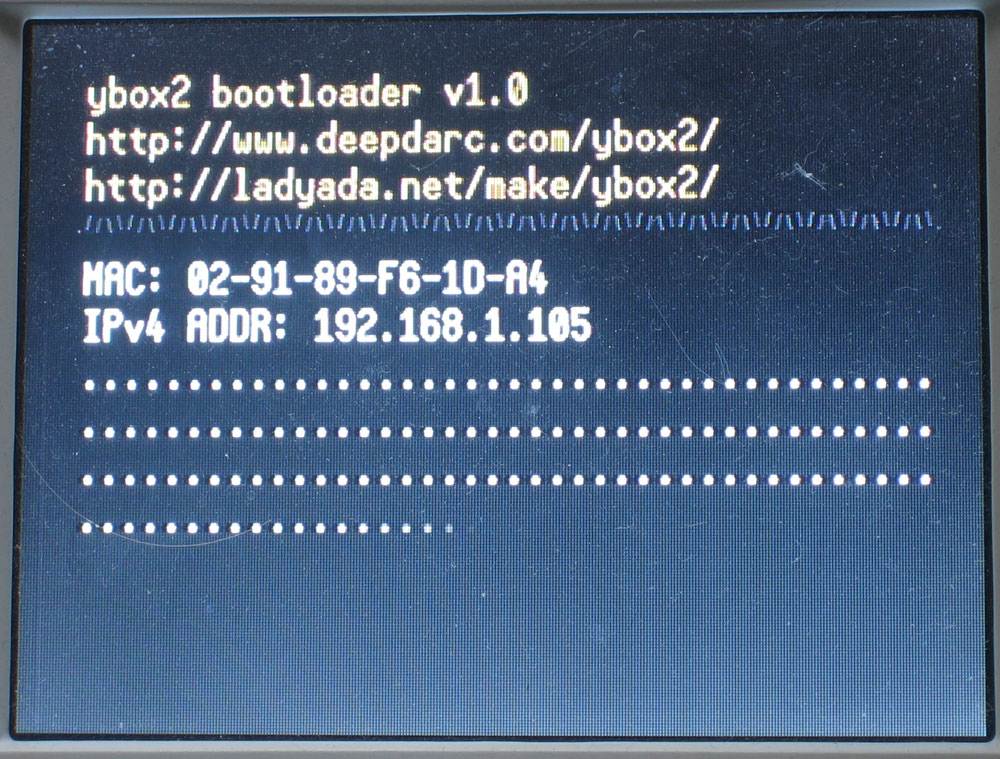
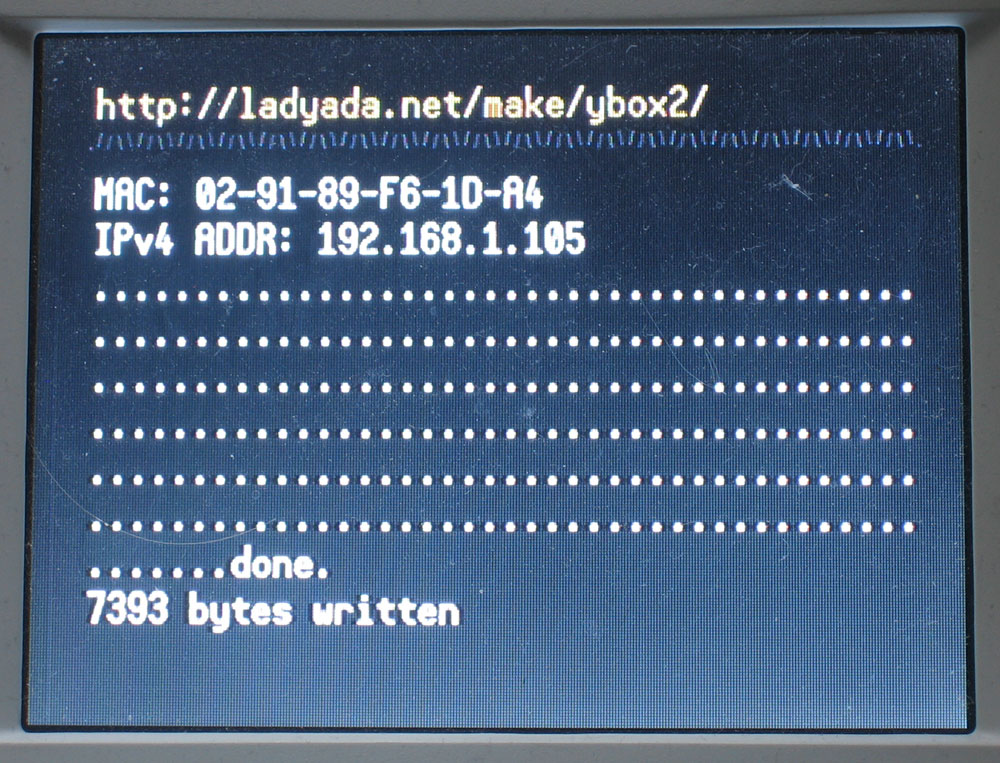
Once it is complete, the bootloader will say it is done and the number of bytes written. the curl program should quit with a long string of capital letters and number and then the word OK. The list of numbers and letters it the MD5 hash - a 'fingerprint' of the uploaded program. This is so that you can make sure that it uploaded OK.
Now you can load the new widget by simply pressing the pushbutton!